So, you have decided to start woodworking. One of the first questions that must have crossed your mind is, what tools do you need for your new hobby? One mistake that many beginners make is going on a spending spree and buying a bunch of unnecessary stuff. This is especially true for power tools, which they assume are essential to becoming a “real” woodworker.
“Dovetail jig? Shut up and take my money!”
Two years into woodworking, you realize that you’ve spent hundreds of dollars on a tool that you have only used twice. In this article, I will do a rundown of some of the basic tools and equipment that I believe are essential to any woodworking shop. Let’s get into it.
- Miter saw
- Circular saw
- Jigsaw
- Table saw
- Router
- Handsaw
- Planes
- Random orbital sander
- Sanding discs
- Sandpaper sheets
- Wood finish
- Lacquer thinner
- Masking tape
- Drill
- Impact driver
- Wood Screws
- Mallet
- Glue
- Clamps
- Pencils
- Squares
- Tape Measure
- Safety goggles
- Hearing protection
- Dusk Mask
Cutting
Most of your cutting will be done using power tools. While you can go old school and work solely with hand tools, power tools will make your woodworking hobby much more enjoyable. And you don’t really have to spend a fortune to buy them. For some of them, you can easily find low-budget options. You can also ask your wood to be cut at the store you are buying it from.
If you decide to do all of the cutting by yourself, here are the basic tools you will need to equip your workshop with:
Miter saw
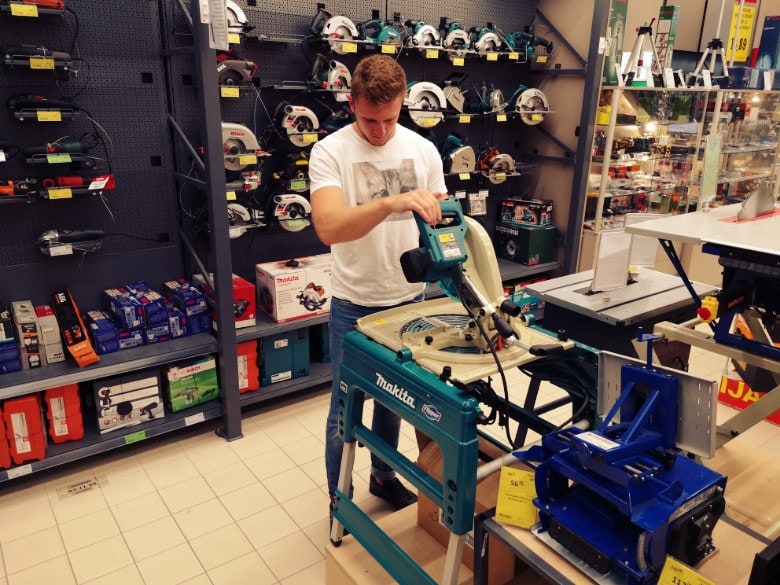
A miter saw is a good tool to start building basic projects. You will be using a miter saw to make repeatable crosscuts and angle cuts. A compound miter saw will also let you make beveled and compound angle cuts.
A miter saw is a very handy tool for furniture making, flooring, remodeling, quick trimming, and general DIY.
Circular saw
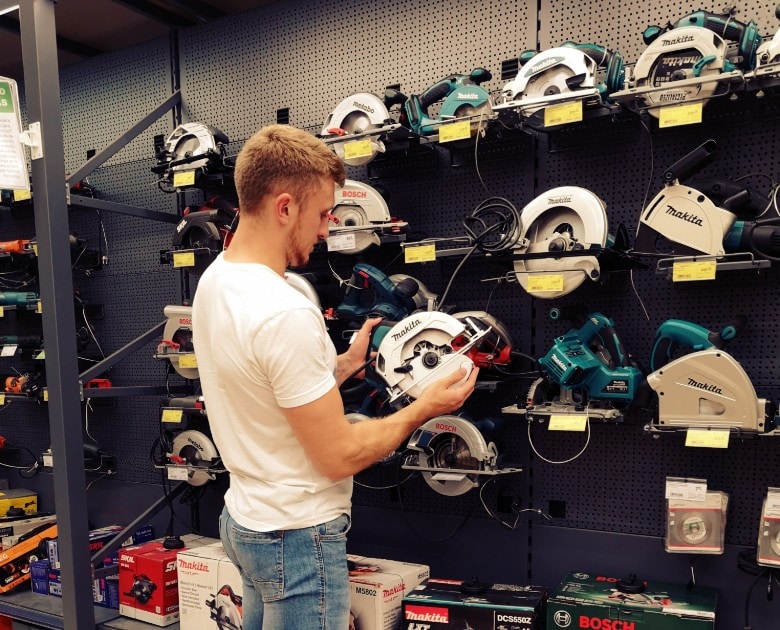
A good circular saw is essential if you don’t have a table saw and plan on working with sheet materials like plywood or MDF. Additionally, a cheaper table saw might not have enough capacity to rip large sheets, and this is when a circular saw may come in handy.
For those with a higher budget, you might consider opting for a track saw. It will give you cleaner and more accurate cuts. Its riving knife will also reduce the risk of kickback and blade-pinching.
Jigsaw
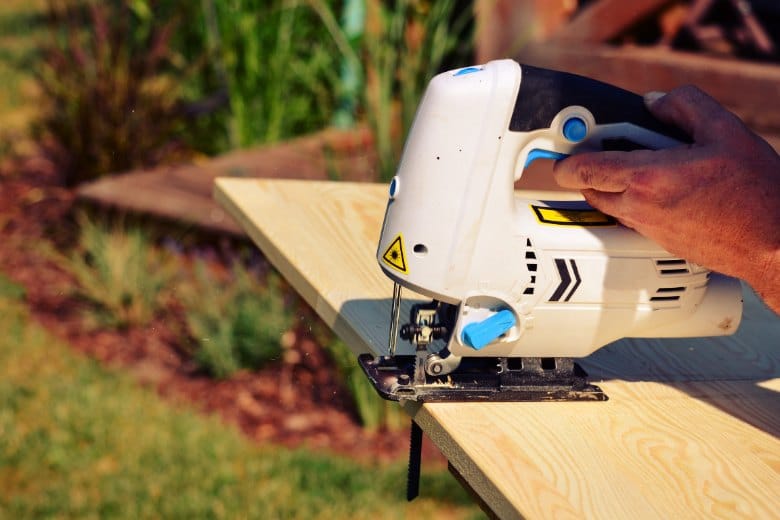
You will probably want to cut some curves and a jigsaw is a go-to tool for that purpose. You can also use a band saw, but it is not as maneuverable as a jigsaw. On top of that, the best band saws will command a higher price.
Jigsaw will give you a lot of bang for your buck as it is a very affordable and versatile tool. You can opt for a cordless jigsaw if you work outdoors where there’s no power outlet.
Table saw
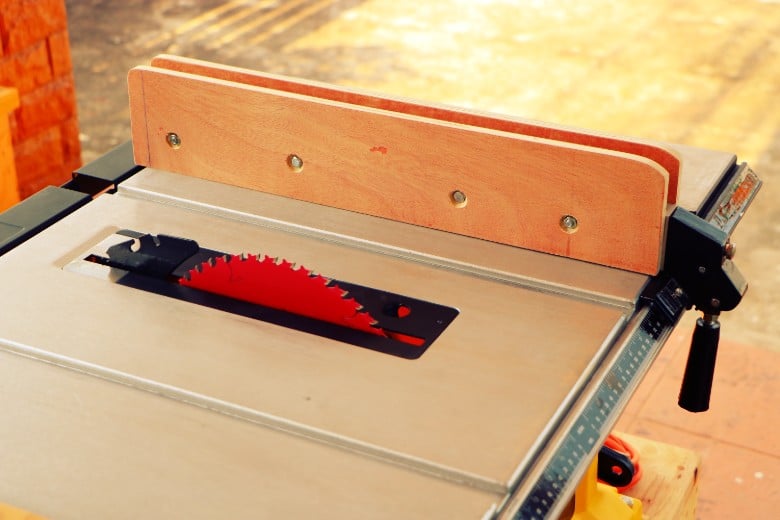
A table saw is the centerpiece of any woodworking shop. A table saw lets you make precise cuts that are not possible with other tools. What’s more, you can make rip cuts and resaw lumber with a table saw.
How to choose the best table saw? When shopping, look for a reliable fence system. Many table saws come with fences that leave much to be desired. Most likely, you will want to buy an aftermarket fence for your saw.
Also, make sure that the rip capacity of your table saw is sufficient for the kinds of projects you will be doing. If you will be working with large sheets of wood, make sure you have sufficient space between the blade and the fence on your table saw. For example, for ripping large sheets of plywood, you will need at least 24″ of rip capacity.
A common misconception is that a table saw must cost a fortune. While this is generally true for higher-end stationary saws, you can get a good table saw for less than $300. Portable table saws are excellent for those who don’t have much space in their workshop.
Router
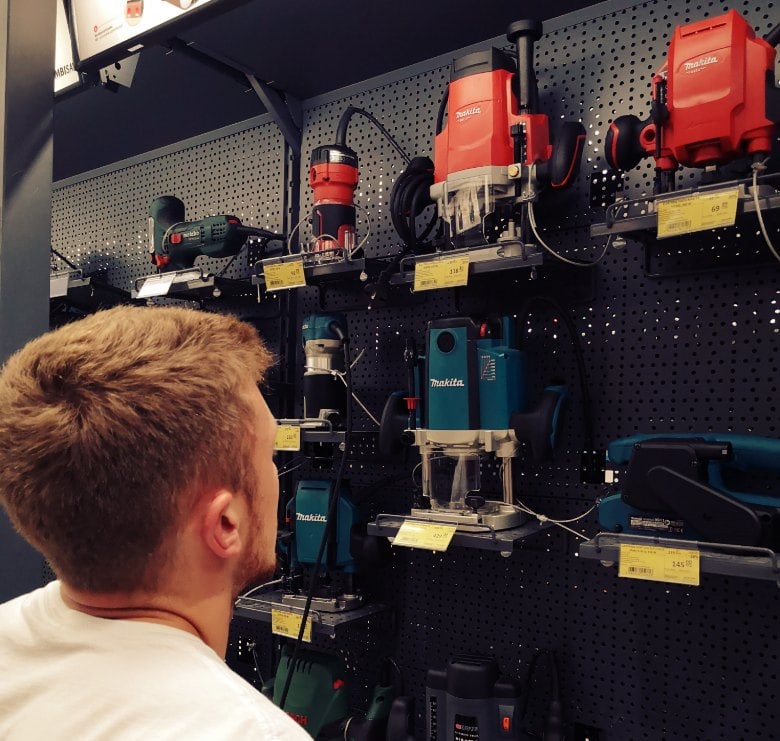
A router is another tool that you will find handy. It is used to hollow out holes, dadoes, decorative patterns, and cut out fancy edges.
There are two types of routers: plunge and stationary routers. Some manufacturers offer router kits with both stationary and plunge bases. You may be asking yourself, do I need both? I would say yes. You may not find a use for both of them right away, but you will most likely need them sometime in the future. Here’s a guide to help you choose the best wood router.
Handsaw

Always comes in handy when you need to make a quick precision cut. While there are a few variations of handsaws, a universal handsaw will allow you to do both rips and crosscuts.
Shaping, smoothing, and finishing
You will have to plan and sand your wood to bring it a refined and aesthetic look. Skimp down on sanding, and any imperfections will get exacerbated after you apply a finish. Here’s what you will need:
Planes
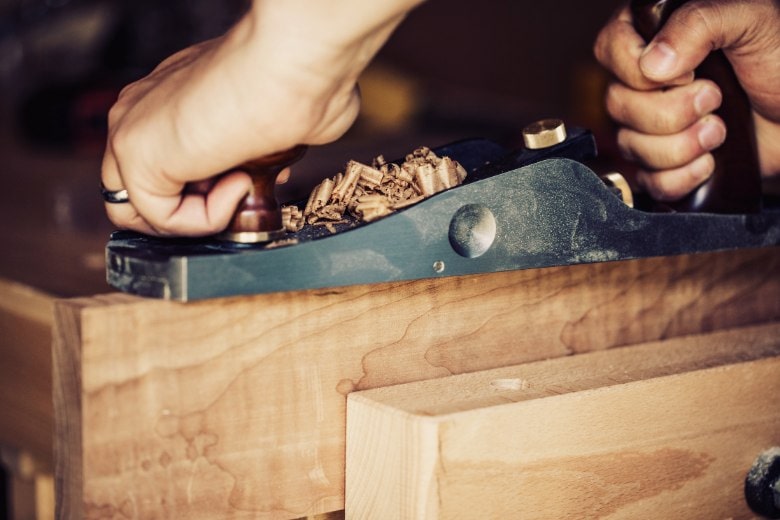
A plane is used to smoothen, flatten, or reduce the thickness of wood by pushing the blade over the wood’s surface. As with other tools, you may get confused by the fact that there are several different types of hand planes.
The first plane that you should get is a No. 5-1/2 jack plane. With sufficient practice, a jack plane can be used as a smoothing plane and a jointer. Later on, you can think about expanding your hand plane collection with planes specifically designed for smoothing (a No. 4-1/2 plane is great for that) and jointing (No. 7 or a No. 8 plane).
I have an entire guide that explains everything you need to know about hand planes, so make sure to check it out.
Random orbital sander
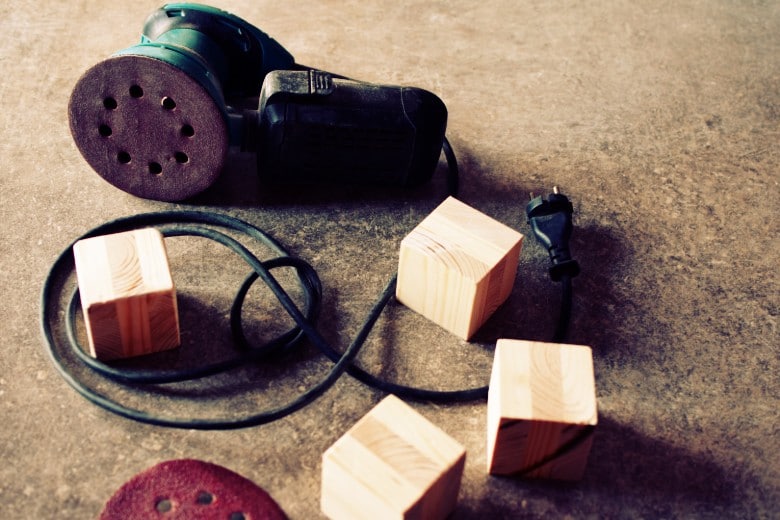
A lot of your time in the workshop will be spent on sanding. Having a random orbital sander is paramount unless you want to go 100% of sanding manually and feel absolutely miserable.
A corded orbital sander would be a better option than a battery-powered one because you don’t want any interruptions in your sanding sessions. Again, sanding sessions can be quite long. Longer than a battery can handle. Orbital sanders use circular sandpaper disks.
If you find the corded variant impractical, then make sure you have at least one spare battery for your sander.
A detail sander will help you reach places and angles where other larger sanders would not fit. I wouldn’t recommend buying a detail sander for an absolute beginner, though. For a start, a random orbital sander should be more than enough.
Sanding discs
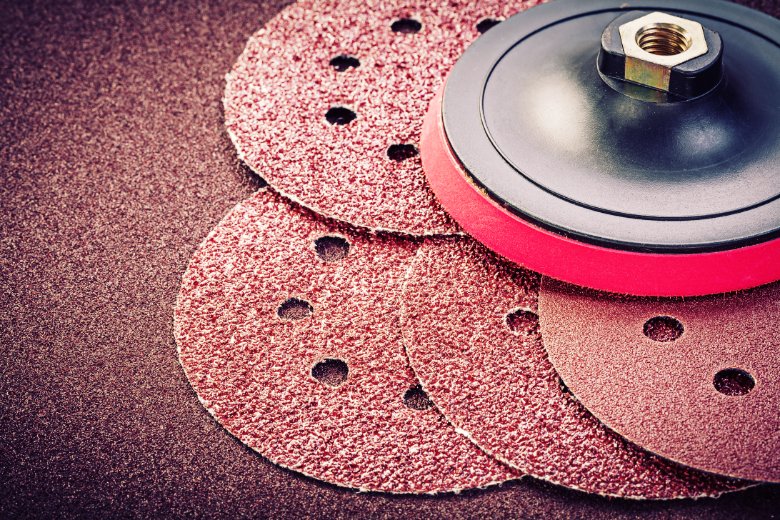
It is worth having a few excess packages of sanding disks in your shop at all times. As soon as you open your last box of sanding discs, add them to your shopping list.
Do not push a sanding pad to its limit. As soon as you start feeling that it lost its grit, throw it out. And avoid the temptation to save them for later. Just throw it out. They are not expensive, and there is no sense in wasting your time with a disc that has long lost its grit power.
There are many different grit sizes. For any wood, you will want to start with a 120-grit disc and move up to 220-grit. You will probably want to apply a finish afterward, so I don’t see a reason why you would want to go above 220.
Sandpaper sheets
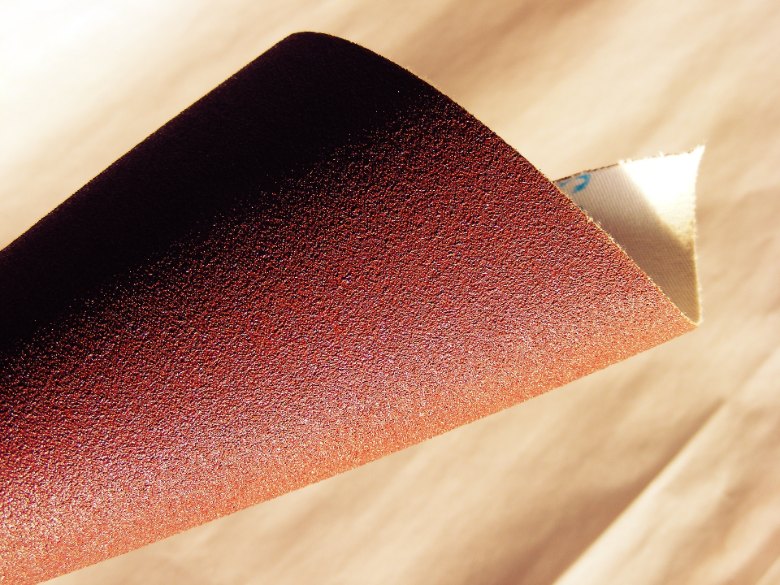
While you will be using an orbital sander for 90% of all your sanding, you won’t be able to reach some surfaces with it. You will want to use sandpaper to scuff edges and angles or other surfaces that can’t be reached with an electric sander.
Mineral spirit
You have to be very diligent about removing any dust after sanding, as it will ruin any finish that you apply. First, remove any dust with a brush or a vacuum. Then, take a piece of cloth, apply some mineral spirit to it, and wipe your sanded wood with it to make your wood as clean as possible. Only then proceed to the application of a finish.
Wood finish
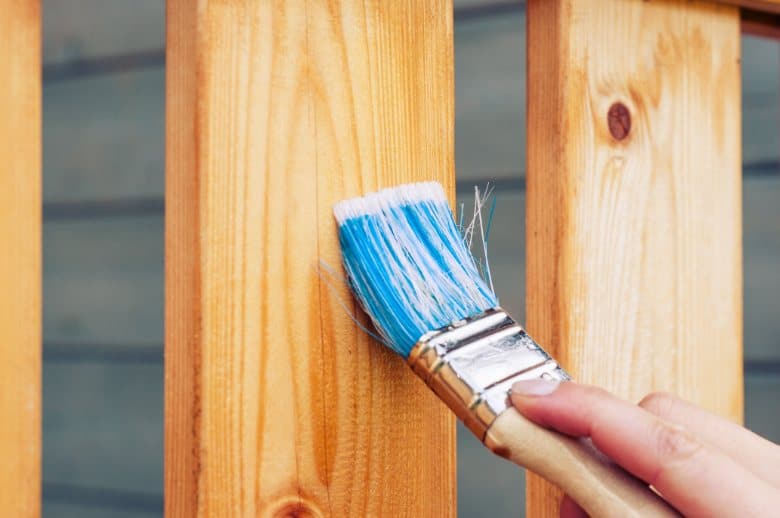
A finish gives the wood a refined look and protects it from environmental hazards. You can get overwhelmed by the array of choices of different finishes. Selecting a finish for your wood does not have to be complicated, though. Namely, there are two main categories of finishes: layered and oil-based.
A layered finish sticks to the surface of the wood and provides more protection. An oil-based finish penetrates the wood and gives it a more natural look but doesn’t offer as much protection.
Below are some of the basic finishes that you will be using most often:
- Paint – great for long-term durability.
- Polyurethane is – the most popular, but the application takes a long time as you will need at least three layers of it. It also needs sanding between coats. Polyurethane can be oil or water-based.
- Lacquer – gives a great look to the wood and dries very fast. Lacquer does not require sanding between coats. It can be brushed, sprayed with HVLP, or sprayed from a can. Lacquer has a very strong smell so make sure you use a respirator when working with it. Gives the wood a more artificial, plastic-y look.
- Linseed oil – two layers of linseed oil should be enough.
- Tung oil – application is much longer as it takes more time to dry than linseed oil, and it will need more layers. The upside is that tung oil provides a stronger hydrophobic effect than linseed oil.
- Danish oil – is a middle ground between oil and layer finishes. Offers less protection than a layered finish and gives a more artificial look to the wood than oils.
Lacquer thinner
Used to effectively dissolve or break substances like lacquer, varnishes, oils, and paints off of surfaces, brushes, and other tools.
Masking tape
Masking tape is made out of very thin paper that is easy to tear and release. You can use it to create clamps or mask off any areas that should not get painted or coated with a finish. Another great use for tape is to avoid tear-outs when cutting across the grain. You will find masking tape very handy so go ahead and buy it in bulk.
Assembly
Drill
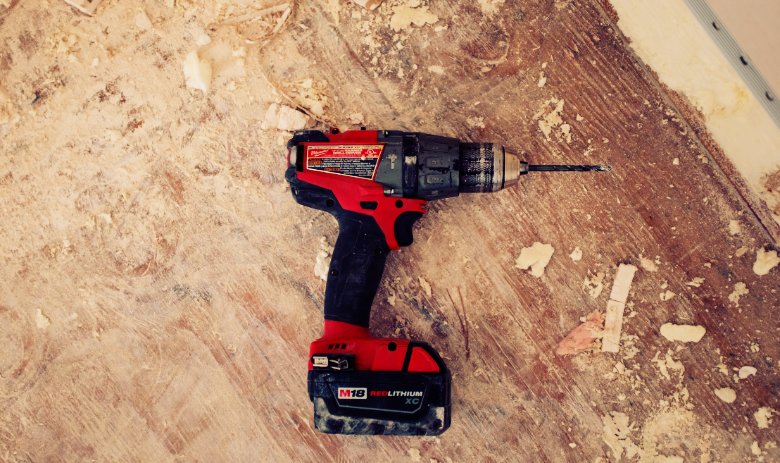
It shouldn’t come as a surprise, but you will be drilling a lot of holes when working with wood. A good drill is paramount to any working shop. Be sure to buy a set of drill bits with many different sizes and shapes.
Impact driver
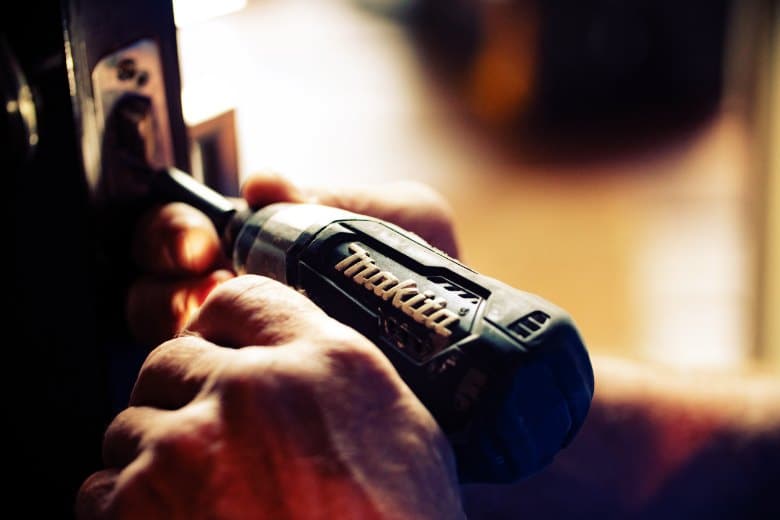
You might be wondering why you would need an impact driver when you already have a drill. Good question.
You cannot use an impact driver to drill holes. But, a drill cannot deliver sudden forward thrusts. Impact drivers are designed to drive screws and bolts with greater power. An impact driver gives you more torque to drive screws into tough materials like hardwood.
This tool really pays off when doing heavy-duty driving. The bit of the driver won’t jump out from the head of the screw and make a dent in your wood, which may happen when driving with a drill. You will find that many drills come paired with impact drivers.
Wood screws

What’s the point of owning an impact driver when you don’t have any screws to drive into your wood, right? You might feel intimidated when you enter the fasteners section of the hardware store, as there are hundreds of screws that you can choose from.
Get flat-headed screws with square or star drives. While they cost more, they will alleviate a lot of frustration for you. You will find 1-1/4 inch screws very handy if you work with a lot of 3/4 inch wood. 1-1/4 screws are great for connecting two such boards together without going all the way through.
Mallet
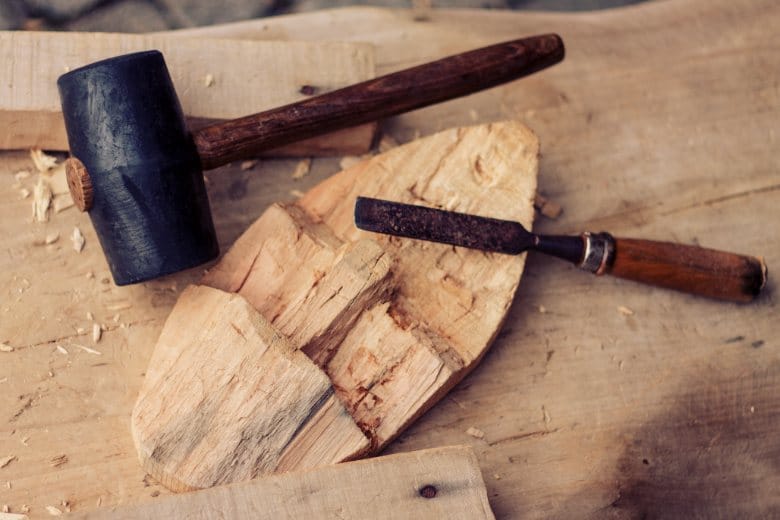
A mallet looks much like a hammer, but its head is made out of wood. It is made in such a way that its head will absorb some of the striking force.
A mallet is usually used to knock wooden pieces without deforming them and driving chisels with greater control. Leather straps can also be added to the edges of the head for more cushioning.
Glue
You may think that using screws or nails is the strongest way to join pieces of wood together. This is not necessarily the case. You may be surprised to learn that gluing is actually the strongest material to connect wood.
A good quality glue can even be stronger than the actual wood it is holding together. Yellow glue, also known as “carpenter’s glue,” is the go-to choice for most woodworkers.
Clamps
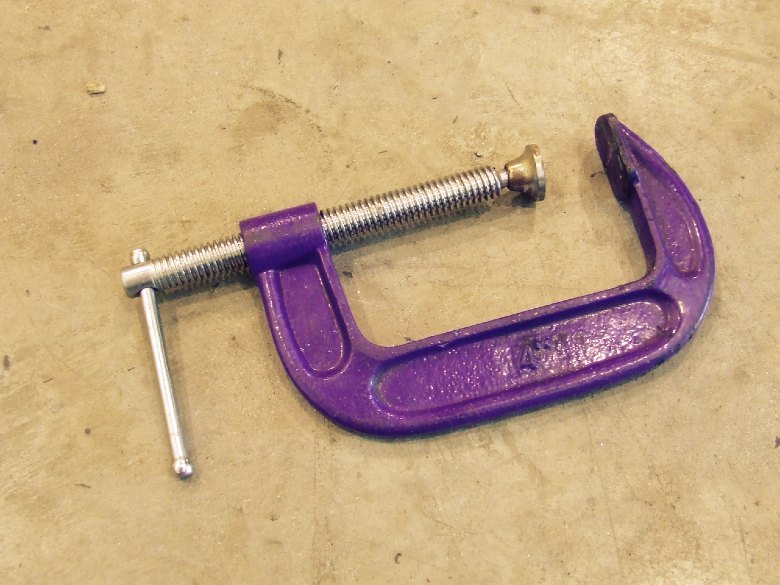
You can never have too many clamps. You will find clamps necessary for many different purposes. Clamps are very versatile. They are used to hold materials in place when gluing, driving screws, or any other joining work.
As with everything, the variety of clamps on the market is staggering. Quick clamps, c clamps. f style clamps… It gets confusing very quickly. Make sure you buy clamps that are adequate for your purposes and will serve you for years to come.
Measurement
As the old saying goes, measure twice, cut once. To make an accurate cut, you absolutely must equip your woodworking shop with tools that are discussed below:
A set of pencils
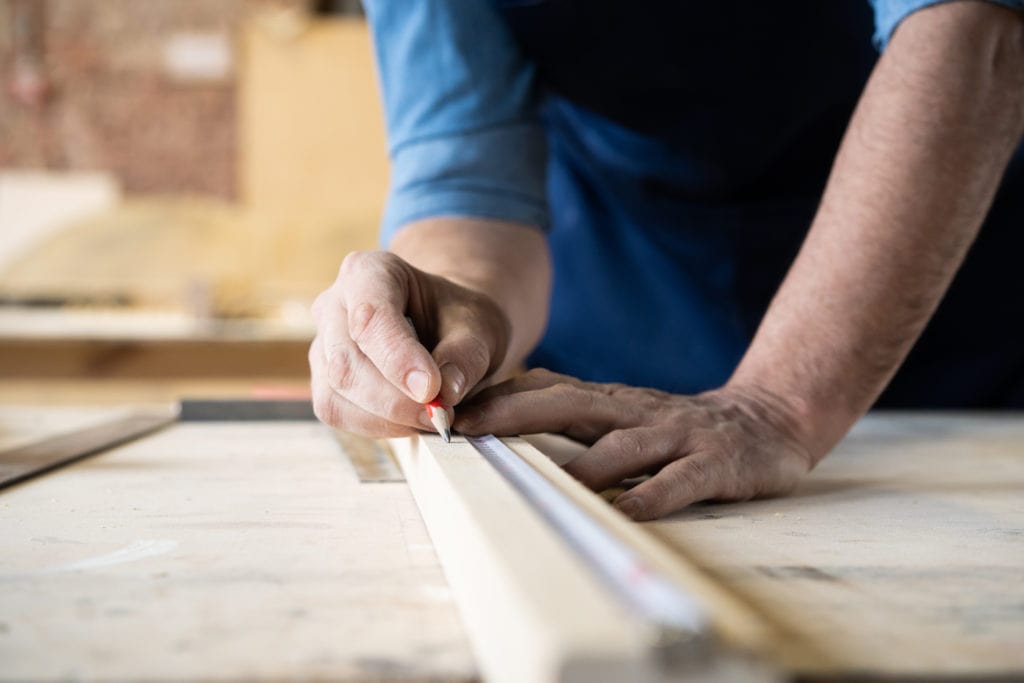
It’s pretty basic stuff. If you are like me, you will have pencils lying all over the place. They are easy to lose, and looking around when you need to make a quick mark can be annoying. Have a few spare pencils in your shop.
Squares
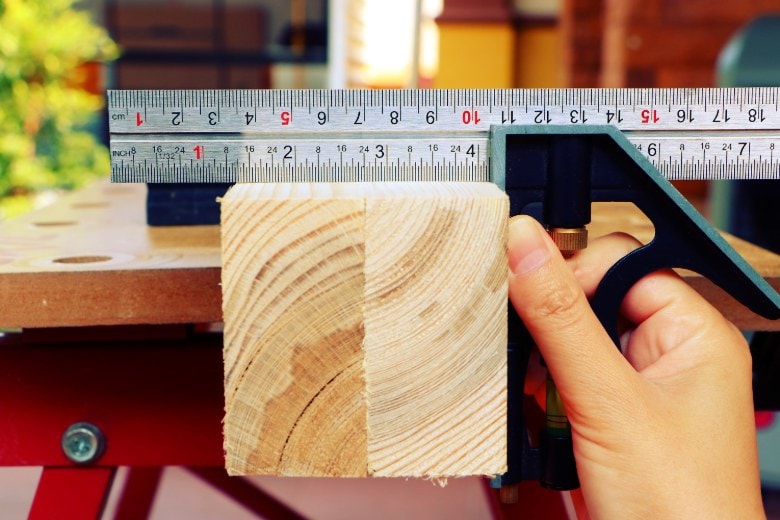
Having a square is absolutely necessary to check an angle on your board or calibrate your table saw. There are many different types of squares. For a beginner, a 12″ combination square should be enough.
Tape measure
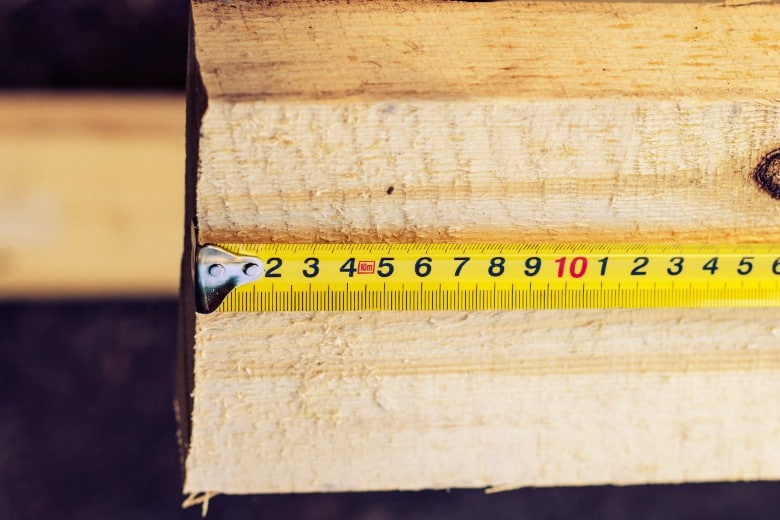
As with any equipment in woodworking, the array of options for tape measures can drive you out of your mind. The good thing is that they are not expensive. Make sure that your tape measure is accurate and marked in a comprehensive manner.
Protection
Safety must always be the number one priority when woodworking, especially when operating machinery. Do not fall into the trap of thinking that woodworking has to be dangerous. One of the ways you can keep yourself out of harm’s way is by wearing safety equipment that is listed below:
Safety goggles
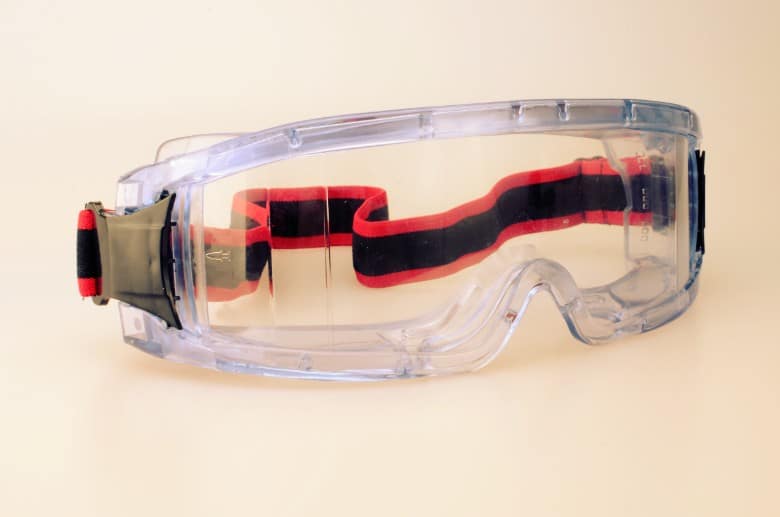
This is by far the most important piece of safety equipment that you should wear when operating power tools. You wouldn’t want to catch a flying piece of debris or dust into your eye when operating, let’s say, a table saw. All safety glasses have such features as side screens and robust, impact-resistant lenses.
Hearing protection
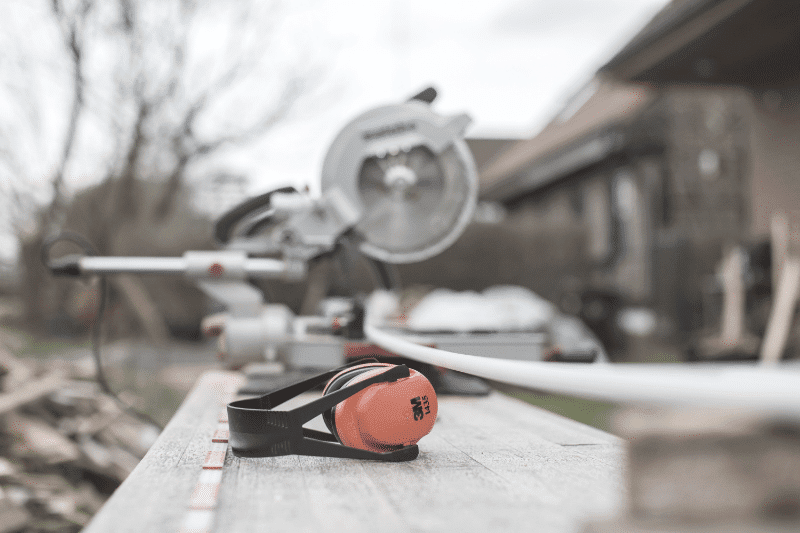
Always wear ear protection when working with loud equipment like saws, routers or planers. To avoid tinnitus, hearing impairment, or permanent hearing loss, have a pair of earplugs or ear muffs in your workshop.
Dust Mask

Wearing a respirator is essential when hand-applying or spraying high VOC finishes, working with mineral spirits or acetone, or working with a sander or a saw. Wood dust is known to be a very dangerous workplace hazard. Long-term exposure to airborne dust can lead to all kinds of different respiratory disorders, such as bronchitis, allergic rhinitis, asthma, and even cancer.
MDF, for example, is notorious for being really harmful to your health. Not only does it release a mixture of softwood and hardwood dust. MDF also contains formaldehyde, which is considered to be carcinogenic.
Conclusion
I hope this list of equipment handy next time you go to the department store to buy tools and equipment for your new hobby. I think all of the tools listed here are essential to make your woodworking experience safe, more enjoyable, and hassle-free.
Do you agree with this list? Are there any other tools you think I should add here? Maybe you think some tools listed here are redundant? Please let me know in the comments below!

6 thoughts on “Basic Woodworking Tools for Beginners”
Thank you for the list, Arthur. Very helpful
Thank you very much for the list and the information. I really appreciate it. I am looking to get into woodworking. But been a little confused about what tools should I buy and learn to operate to work with woods and other materials. Your post has been really helpful. Thank you for writing.
Thank you so much Arthur, your list is very informative, and I actually took notes. I’m new to woodworking, and I wish I had seen this list before.
A side note, I would a the following: Broom, dust pan, good lighting, and note book and make sketches and write notes.
Again, thank you for taking the time to compile this list.
Oscar
Glad it helped, Oscar. And thanks for the tip. 🙂
Great! Very informative! And this will help me avoid the temptation of buying a lot of things I really don’t need at my level. Cheers!
Hi Martin,
Glat it helped. You don’t really need a lot to start woodworking.