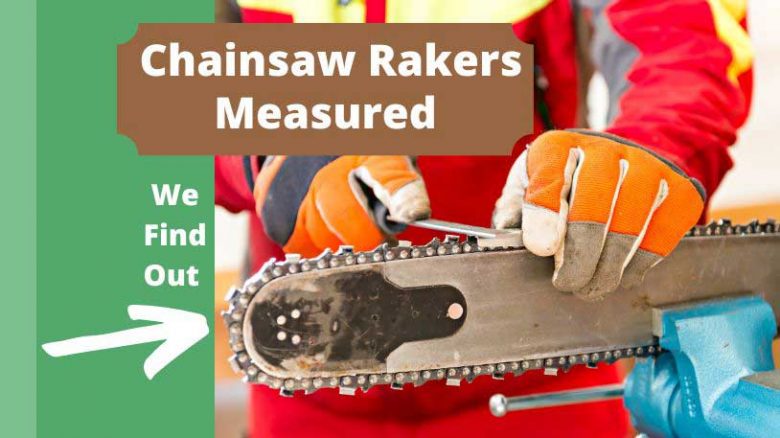
I get it. You want smooth cuts and fewer chips in your wood, and you’re smart enough to know that eye-balling raker height will never get you clean results. So, how do you measure raker height consistently every time?
A raker guide is the easiest way to measure the depth of your rakers. You can use a vernier caliper, but the guide is faster and more accurate for this particular task. The guide reduces the chances of mistakes and helps make the process quicker.
This article will show you how to measure your rakers with a guide and give examples of different chainsaw brands.
Things To Know Before Working on Your Chainsaw Rakers
The rakers on your saw chain are the teeth that determine how deep the cut will be. That affects how clean the cut is and how often you need to sharpen your chain. If the rakers are too high, the cut will be shallow. If they’re too low, the cut will be too deep.
The idea is to find that happy medium where the rakers barely touch the wood.
You can use a depth gauge or a raker guide to measure the rakers. I prefer the guide because it’s faster and more accurate. They are also cheap and can be found in most parts stores. However, some chain makers will also ship their products with a free guide.
Still, having rakers at the correct height is not enough. You will need a sharp chain to make the clean cuts you need. But that is another topic you can read more about here.
What Is a Raker Gauge?
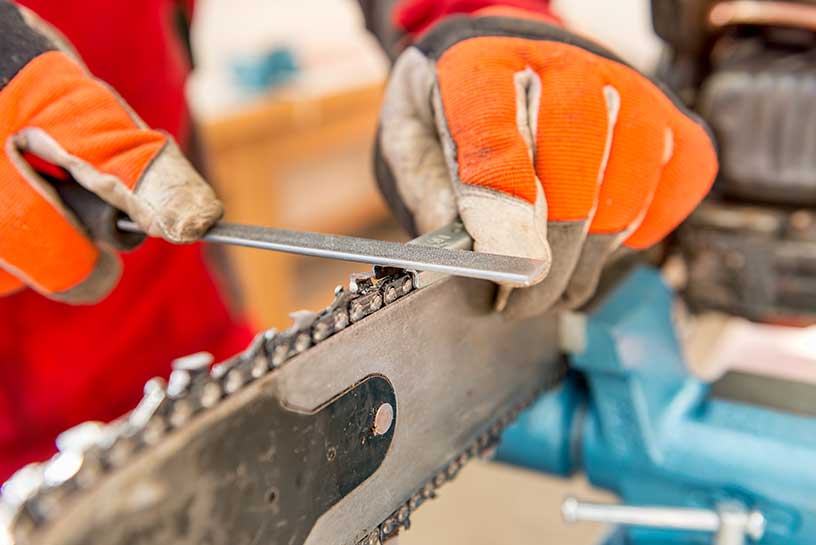
A raker gauge is a tool that is used to measure the depth of the cutters (teeth) so that you can determine how much wood needs to be removed. There are several raker gauge tools, including a depth gauge, center gauge, and roller gauge, and they all have their own roles.
Let’s take a closer look at these raker gauges and how they can help you with your chainsaw needs.
Center Gauge Tool
The center gauge tool is used to find the center of the cutter. This is important because the chain must be sharpened at the correct angle. If the angle is off, then the chain will not cut properly. These are not as common as depth gauge tools.
Depth Gauge Tool
This is the most common type of raker gauge. It is used to ensure that the cutters have the same depth. The tool is placed over the cutter, and a measurement is taken. If the cutter is too tall, it must be filed down.
Check out the following music video for a demonstration of how to use a depth gauge tool:
Roller Guide
This one can be used as a depth gauge tool or a guide for flat files. It is placed over the cutter, and a measurement is taken. If the cutter is too deep, it must be filed down.
For this guide, we will stick to the most common type of raker gauge tool – the depth gauge. It is the tool most chainsaw makers ship with their products.
How To Measure the Rakers on a Husqvarna
Husqvarna has included a depth gauge tool with its chainsaws for many years. But you can also buy it separately.
To use the Husqvarna depth gauge tool:
- Place the chainsaw on a flat surface. A vice is ideal, but you can also use a table or workbench.
- Choose if you want the soft or hardwood setting on the guide. I’ll pick the hardwood side for this example.
- Set the gauge. Place the front notch on the cutter before the one you intend to work on, then make sure the raker you are working on is in the small incision in the hardwood grove.
- File the excess. If the raker is protruding, file it.
- Repeat this process for every raker on the chain. This is a reasonably fast process.
How To Measure the Rakers on a Stihl
Stihl also provides a depth gauge tool with its chainsaws. This one is a little different from Husqvarna’s, with the soft and hardwood on the same side of the gauge, but it works basically the same way.
To use the Stihl depth gauge tool:
- Place the chainsaw on a flat surface. A vice is ideal, but you can also use a table or workbench.
- Place the guide over the cutter you want to measure.
- Check to see if the raker is at proper depth by looking at the gauge. If it is protruding, file it down.
- Rinse and repeat for every raker on the chain.
How to Measure the Rakers on an Oregon
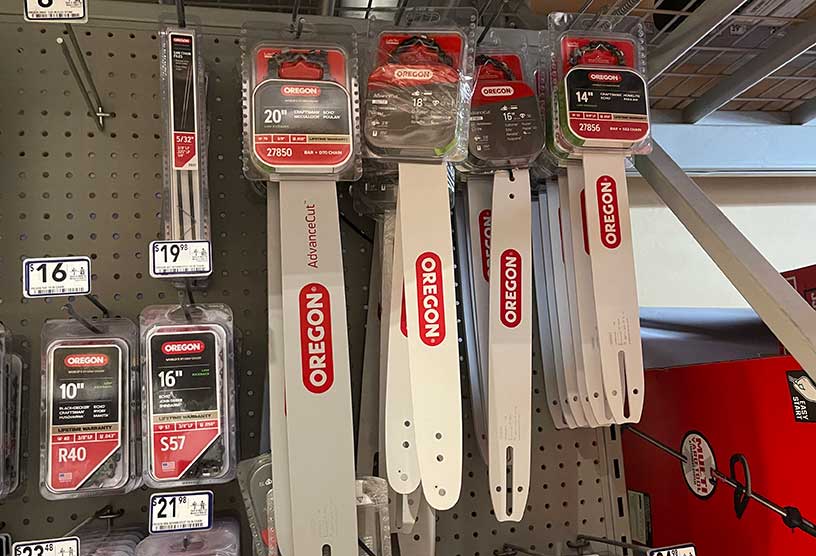
Oregon is slightly different from the other two brands we’ve covered. Their depth gauges are not included with the chainsaw. Instead, they are sold separately.
To use the Oregon depth gauge:
- Place the chainsaw on a flat surface. A vice is ideal, but clumps can work too.
- Select the correct size for your cutter. There are three sizes to choose from.
- Place the guide over the cutter you want to measure.
- Check to see if the raker is at proper depth by looking at the gauge. If it is too tall, file it down.
- Repeat for every raker on the chain.
As you can see, measuring the rakers on a chainsaw is not difficult–regardless of the brand. In fact, the process is very similar, except for a few minor details. After following the steps outlined above, you can ensure that your chain is ready for clean cuts.
Things That Could Go Wrong When Setting the Raker on Your Chainsaw
Overfilling the rakers can cause binding. This is because the depth gauges can no longer measure the cutters correctly. As a result, the chain will not cut as it should. The solution to this problem is to replace the chain.
Underfilling the rakers can also cause issues. This is because the cutters will not be able to reach full depth, which results in a poor cut. The solution is to file the rakers down until they are flush with the cutter.
Another problem that can occur is known as “raker nick.” This happens when the raker is not set at the proper depth and ends up hitting the side of the cutter. This can make the chain come off or, even worse, cause a kickback.
Kickback is when the saw kicks back towards the user. This can happen when the raker is not set correctly, or the chain is dull. Either way, it can be extremely dangerous and should be avoided at all costs.
The best way to avoid these problems is to regularly check the rakers and make sure the saw is sharp. Doing this can extend your chain’s life and avoid accidents.
I’ve also realized that I need to check my rakers more often than I thought. It’s easy to forget about them when you’re not using the saw regularly. However, it’s important to remember that they play a vital role in the overall performance of your saw.
Final Thoughts
As you can see, setting the rakers on a chainsaw is not difficult. However, it is important to make sure that they are set correctly. Otherwise, you could run into some serious problems.
If you’re not sure how to set the rakers on your saw, I recommend checking out the instructions for your specific model. Or, you could always take it to a professional and have them do it for you.
Either way, make sure that you get it done regularly. It’s the best way to ensure that your saw always performs at its best.

