Our readers regularly ask whether it’s possible to paint pressure-treated wood and how best to go about it. The short answer to the question is yes, you can paint pressure-treated wood as long as you observe some basic safety precautions and points related to the pressure treatment chemical itself.
I used a lot of pressure-treated timber to build fences and decks back in the day, and I seldom painted them because I quite liked the rustic look of weathered timber. However, when I did use paint, I quickly learned that if you want longevity in your paint finish, there are a few rules to observe; otherwise, you find yourself redoing the work in less than two years.
If done correctly, you can apply most surface finishes to pressure-treated timber. However, some are better suited for durability and protection than others. This article will explain why we pressure-treat wood, the method and chemicals used, and how best to apply paint to ensure a long-lasting finish. We’ll also discuss selecting your primers and topcoats to ensure you don’t need to repaint too frequently.
Why Treat Wood?
Wood is organic and hygroscopic, which means it can rot and soak up water. While some woods are more durable than others, the most durable wood will still decay over time, and all are susceptible to insect attack.
If timber is used internally and kept out of the weather, surface treatment through painting, oiling, and staining is usually adequate protection. Yet, most woods will require a more robust protection regime to resist the weather if you intend to use wood for outdoor furniture, house cladding, or fences and decks.
What is Pressure Treated Wood?
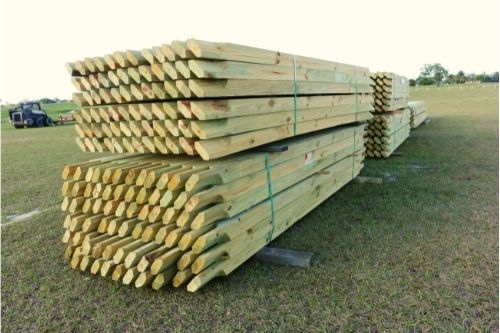
Wood is described as pressure-treated when a preservative has been forced into the wood structure under pressure, giving a greater depth of protection against fungal decay and insect attack.
The wood is placed in a pressure vessel to which a vacuum is applied before filling with liquid wood preservative. The vessel is then pressurized, forcing the liquid into the wood structure. After a specific dwell time, the remaining preservative is drained before opening the vessel to the atmosphere. Finally, the wood is removed and allowed to dry.
There are six common preservatives used:
- Micronized Copper Quaternary (MCQ)
- Micronized Copper Azole (MCA)
- Alkaline Copper Quaternary (ACQ)
- Copper Azole (CA-B or CA-C)
- Copper Naphthenate
- Chromated Copper Arsenate (CCA)
ACQ and Copper Azole have replaced CCA for most uses due to concerns over the arsenic component in CCA, with CCA timber now treated as hazardous waste in some countries. It still has use in cases where limited human contact occurs or robust protection is required.
One point to note, ACQ treated wood has high levels of copper and is therefore extremely corrosive to steel, even galvanized or stainless steels. When using fasteners on ACQ timber, ensure they are appropriately coated, usually with ceramic, and specifically designed for ACQ timber.
Can You Apply Surface Treatments To Pressure-Treated Wood?
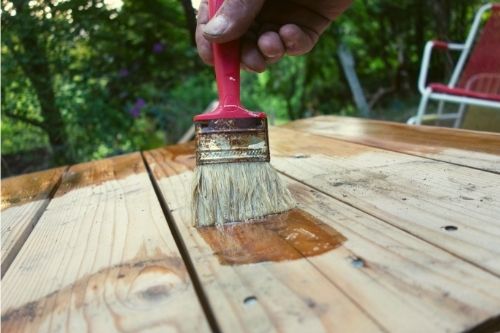
Yes, you can. However, when the wood has been pressure-treated, it becomes very wet with preservatives and is often still very damp when sold. Should you try to apply a surface finish over that degree of moisture, the results will be patchy, and the covering will fail to adhere.
When preparing to paint or stain any timber, whether it’s treated or not, the moisture content of the wood is important. You’ll get the best adhesion when the wood’s moisture content is below 14% and preferably around 12%.
The most scientific way to tell whether the wood is ready for a surface coating is by using a moisture meter. This inexpensive device comes in two forms, pin and capacitive (pinless), giving you a percentage moisture reading when applied to the surface.
A less scientific method is to place a few drops of water on the wood’s surface. It is dry enough to paint if it gets absorbed into the wood. If they bead and sit on the surface, the wood is too wet.
If you haven’t built your project yet but wish to dry your wood, stack it undercover with thin strips of timber separating each layer, ensuring good airflow around and through the stack. New, wet, pressure-treated wood may take several weeks to reach a moisture level low enough to be ready for painting.
If you’ve already built your project, leave it for at least two weeks for the pressure-treatment chemicals to dry and the wood moisture level to stabilize. I would advise against leaving it for too long, however, as the wood can crack and split from weathering, which will make it harder to protect the item adequately.
Should You Paint Or Stain?
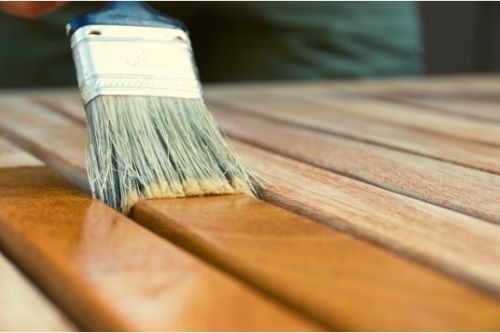
The question of staining versus painting depends more on the look you wish to achieve, as both finishes can be applied to pressure-treated wood. However, it will help if you understand the pros and cons of each.
First, you need to decide between using film-forming or penetrative finishes. Paints form a thin film-like layer over the surface of the wood, with the continuous layer slowing the rate at which water reaches the timber. Paint will not prevent the decay of timber from humidity, but it will slow the rate at which liquid is absorbed into the wood fibers. Paint also has pigments that protect from ultraviolet (UV) damage. These same pigments also obscure the wood grain.
Related: How To Paint Wood Furniture
Penetrative finishes include stains. These products penetrate the wood structure and partially block the wood’s pores, allowing the wood to continue ‘breathing.’ Stains often have added water repellents, pigments, and sealers. They offer reasonable UV protection and prevent water ingress while allowing the wood grain to show through. When applied to pressure-treated timber, an oil-based stain is preferred to a latex-based.
Related: How To Stain Wood (Beginners Guide)
What Paint And Primer Should You Use?
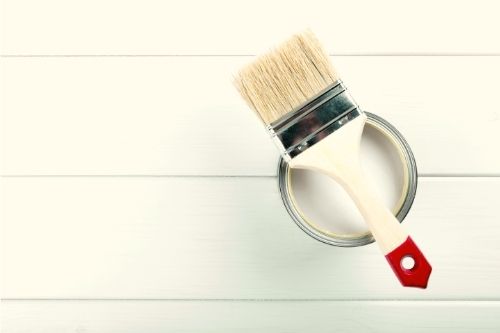
When selecting your paint system, you can choose between oil-based and latex paints. Oil-based paint uses inorganic pigments suspended in a carrier oil that binds the pigments to the wood surface. In contrast, latex-based paints use inorganic pigments mixed with latex resins and water.
A good quality latex-based paint will usually outlast an oil-based product for three reasons. The first is that the latex-based coating is more flexible than the oil-based one once dry. Wood is organic; therefore, it swells and moves with changes in temperature and humidity. Oil-based paints can crack over time, while latex-based ones can accommodate greater movement before losing surface-film integrity.
The second reason latex-based paints last longer is they are more able to breathe while they also shed water. This feature ensures less water gets trapped under the paint film. When using impervious oil-based coatings, the paint will blister and lift if water gets trapped between the wood and the paint.
The third bonus for latex-based paints is the UV protection they offer. Their acrylic polymers are more resistant to sunlight than their oil-based counterparts, which means their deterioration to sun exposure happens more slowly.
When painting pressure-treated wood, these three factors tend to favor using latex-based paint systems over oil-based ones. The only caveat to this is when painting cedar or redwood. These timbers have water-based components that can bleed through a latex primer and topcoat. In such cases, it pays to use either an oil-based primer or a stain-blocking latex-based primer. The topcoat should be a good-quality latex-based paint.
How To Paint Pressure-Treated Wood
Step #1: Flatten imperfections and create a keying surface
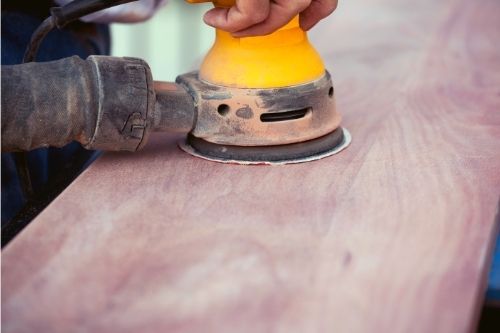
Depending on the condition of your wood, you might consider sanding the surface to be protected. If the surface has been previously painted, you will want to do this step. I usually run 40 or 60-grit sandpaper over the surface using a small palm sander. Even if the timber is flat, the light sanding roughens the surface enough to create a good key or bond with the paint.
Safety Note! We’ve already spoken of the types of chemicals used to pressure-treat wood. All of them can be dangerous to the eyes, skin, and lungs if you don’t take the right precautions. Be sure to sand in a well-ventilated area, using a good quality dust mask, long-sleeved shirt, and eye protection. Also, be sure not to burn offcuts or wood shavings from pressure-treated wood. The smoke and fumes will be dangerous, carrying a long way.
Step #2: Cleanliness
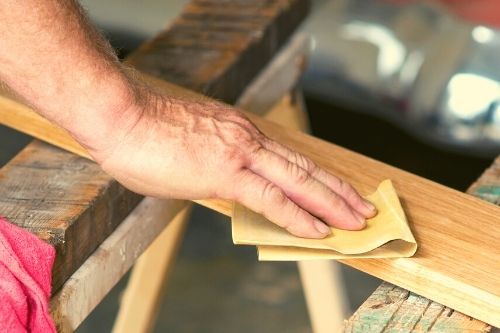
Regardless of the wood you paint, you must ensure you clean the surface. Use a soap and water mixture and brush or scrub the surface, rinsing it clean before wiping off excess water with a cloth. Dust, dirt, oils, and old paint must be removed, particularly if the timber has been outside for any length of time. Any foreign substance on the surface of the wood will create poor paint adhesion, causing early failure of the protective coating.
Do not be tempted to pressure blast the wood. While this does clean the dirt off, you’ll roughen up the surface of the wood, making it swell and fluff up, requiring a much longer drying time.
Be sure to allow the wood to dry after the cleaning. Remember, the moisture content should be below 14%.
Step #3: Prime the surface
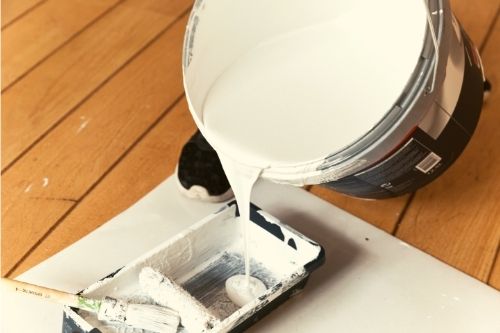
Choose your preferred application method, roller, brush, or spray, which are all fine. Primers are used first on wood because they contain a high level of solids, which soak into the wood, seal it, and create a smoother surface for the topcoat. Remember to use either an oil-based primer or a stain-blocking latex-based primer.
All primers have different drying times, although latex-based primers are faster to dry than oil-based ones. Be sure to check the instructions on the tin for the recommended drying time, and don’t be tempted to apply a topcoat while the primer is still damp.
Step #4: Apply your topcoat
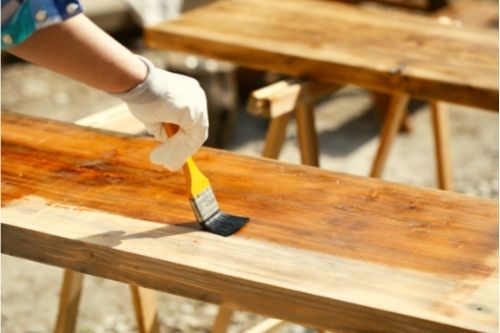
With paint, a general rule of thumb says quality costs more. Use the best quality latex-based topcoat you can afford and apply the first coat over your primer. Be sure to let the first coat dry thoroughly before applying a second coat. If you apply the second coat while the first is wet, you’ll find your paint won’t stick properly. Two topcoats are adequate to give your timber the protection it needs.
FAQs
How long to wait before you can treat pressure-treated wood?
If the wood is freshly treated, allow at least a couple of weeks for the treated chemical to dry and for the wood moisture content to reach 12 to 14%.
What happens if you paint pressure-treated wood too soon?
The paint may dry, look patchy, and have insufficient adhesion to the wood, requiring reapplication in a year or two. The paint may dry, look patchy, and have insufficient adhesion to the wood, requiring reapplication in a year or two.
What paint to use for pressure-treated wood?
Use an oil-based primer or a stain-blocking latex-based primer followed by a latex-based topcoat.
Summary
You can successfully paint pressure-treated wood. However, as most pressure-treated timber is sold still wet to the touch with preservatives, it does require a degree of patience to ensure the treatment has dried sufficiently to enable a good bond with a paint system.
Always sand and clean the wood well, taking personal safety precautions against copper or arsenic-laden dust. Again, be sure to allow it to dry sufficiently. Remember, you’re looking for 12 to 14% moisture content before beginning to paint. When you diligently follow the steps and correctly apply a latex-based paint system to a pressure-treated wood surface, you can expect it to last at least seven years before a reapplication is required.
Good luck with your project, and I hope the information we’ve given you today has been of assistance.

