Staining is a matter of preference, and it is not always necessary. Sometimes, your project may look way better if you keep the natural look of your wood and maybe just apply a clear finish.
When needed, staining can be a great way to give a more vibrant look to your wood project. Staining can also be very useful if you want to restore the former beauty of your old piece of furniture.
The question is: which stain do you choose? And then, how do you stain wood without botching your project? In this article, I will try to answer all of your questions.
What Is Wood Staining?
Wood staining is the process of enhancing the color of the wood to bring out the visibility of its beautiful natural grain. Staining is done using a tinted coating, which is a bit similar to paint. People often use the word “staining” interchangeably with finishing or sealing, which technically isn’t correct.

Technically, staining should not be confused with wood finishing or wood painting. Although, there are some finishes that offer a one-step staining and finishing solution. But more on that later.
Traditionally, finishing was created solely to provide additional protection against the weather and daily wear and tear. A finish can also provide that wet or shiny appearance, which is also a matter of preference.
So, a “stain” changes the wood’s color or tint, and a “finish” offers protection and gives it an enhanced look.
Types Of Wood Stains
Primarily, there are four common types of stain used today: water, oil, gel, and varnish-based stains. All four have their place and purpose depending on a couple of different factors. To decide which stain to use, consider what type of wood you will be working with, its condition, the project you intend to build, and its final resting place, so to speak.
If the project piece is to be purposed for outdoor-only use, you may consider applying a varnish-based stain, letting it dry, and calling it a day. When using other types of stains, you will have to match it with the sealing product you intend to use to finish the workpiece.
Oil-based stains can be applied under any finishes except those that are water-based. Water-based stains can only be used under water-based finishes.
Advantages Of Water-Based Stains
- Shorter drying time
- Maintains color longer
- A richer tint can be achieved
- No fumes
- Non-flammable
- Easier clean-up
- Good mold and mildew resistance
- Great for rot-resistant woods
Advantages Of Oil-Based Stains
- Provides a smoother finish
- The oil penetrates the wood deeper than water-based, and so has a deeper seal
- Less maintenance in the long-term
- Holds up better under harsh conditions
Do Gel-Type Stains Have Any Advantages?
Gel stains are thicker, so it doesn’t run like water-based stains. Its consistency is close to that of mayonnaise, actually. Although it is loosely similar to pigment-based paints, it consistently produces saturated and transparent colors. In addition, gel-type stains have a thickening agent that makes them much easier to apply than other stains.
The major thing to remember with gel-type stains is that they sit on top of the wood (instead of being absorbed into the pores like water and oil-based stains), which makes it a good choice as a finish for the “sappy” woods that have trouble drinking in traditional stains.
Additionally, gel-based stains are great to use on woods that tend to blotch, such as cherry, pine, or birch.
There Is A Catch
There is one itsy-bitsy little downside to gel-type stains:
If your piece has intricate grooves and detail work, you should probably opt for one of the traditional stains: water-based for inside pieces and oil-based for outdoors.
Varnish-Based Stains
Unlike water or oil-based stain, a varnish stain will produce a clear and protective transparent finish. Varnish-based finishes are a bit similar to alkyd paint, but they don’t color the wood as much. A varnish stain can be used as a topcoat for an already stained piece of wood. A smooth application as a finish will give you that ‘mirror-like” reflection if the initial staining is done with care.
How To Stain Wood
Preparation
Now that you have chosen the right stain for your project’s wood, the next step is to clean the wood surfaces.
The basic approach is a 6 step process:
- Clean unfinished wood with a damp rag before staining.
- Fill a spray bottle with 2 cups of water. Add 2 tbsp. white vinegar for heavily soiled, unfinished wood that has sticky residue or similar buildup.
- Mist a lint-free cleaning rag with the spray. Don’t use paper towels because it will leave behind particles that could affect the final finish.
- Rub the damp cloth over the unfinished wood, rubbing in the direction of the wood grain to prevent splintering.
- Do not wipe sideways across the grain.
- Let the wood air dry fully before staining.
Should You Condition The Wood?
Some people believe in conditioning the wood before staining. If you want to use a commercial conditioner, wipe or brush it on the surface lightly and let it sit for about an hour or so.
Applying The Stain

Now, we get into the meat of the matter. The wood has been prepped, and it’s time to apply the stain. But first, a quick check of your workspace is important.
QUICK CHECKLIST:
- Dogs and cats restrained?
- Project located away from a breeze?
- Stain, brushes, rags within arm’s length?
If so, let’s begin!
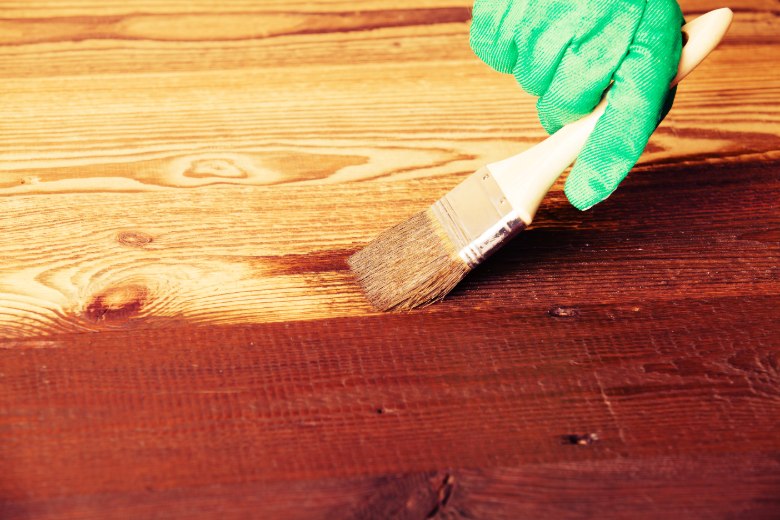
- With a staining brush, foam brush, or cloth, stroke both ways, with the grain and against it. Don’t stroke sideways. This can get a little messy, but the important thing is to lay down a nice, generous coat.
- You can control the shading, to a point, by how long you leave the stain on the wood before wiping up the excess. Wipe the stain off immediately for a lighter tone. To achieve a deeper tone, leave it on for 5-10 minutes before wiping.
- Try to work in long, even strokes and gradually lift the brush toward the end of each stroke. This is called feathering, and it helps to keep the brush strokes from being too noticeable and marring the stain.
Don’t Rush This Part
Take your time and get the foundation as close to perfect as you can. And if it’s not perfect, don’t beat yourself up. You’ll do better on the next project.
Let the stain dry completely overnight before applying a topcoat. If your project is to be used indoors, you can consider the project finished. You won’t need to seal it; just apply a good polish every few weeks to give it a nice glow.
Finishing

After your finish has completely dried, wipe with a lightly dampened cloth to remove any dust accumulation that may have settled.
Oil-Based Stain
Oil-based polyurethane is the best choice if you’ve used an oil-based stain. It will give a warming tint to the piece, whereas a water-based polyurethane topcoat should only be used over a water-based stain.
An oil-based topcoat should only need 2-3 coats, while the water-based topcoat may require 4 or more thin coats. Apply topcoats in “reflected light” to spot flaws and unflattering brush strokes more easily.
Choosing the right applicator is important. Don’t run out and buy cheap bristle brushes, as they are famous for shedding their bristles.
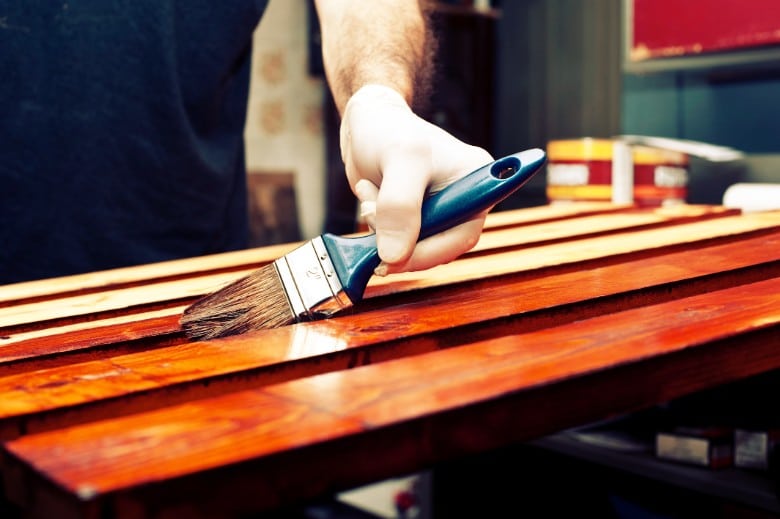
Foam brushes are inexpensive and lay down even strokes. And they’re disposable. If you use a quality bristle brush, make sure it’s a new or very clean used one. Apply the oil-based polyurethane with even, long strokes with the grain. Find a balance between thin and thick.
Spread a generous coat while watching for drips and runs. Each coat will have to dry overnight, unlike the water-based topcoats, which need only a few hours to dry. But the end result will be worth the patience exercise.
Once dry, lightly sand that coat with 320 grit sandpaper, vacuum or wipe the dust, and apply the next coat, letting it once again dry overnight.
Two coats should be okay unless the wood is expected to get heavy traffic or weather abuse, in which case one or more additional coats would be needed. Repeat the light sanding between coats and then apply the final coat.
Again, apply the final coat in reflected light, looking for flaws, drips, runs, etc. Study your brush strokes and try to make them match up and less obvious by “feathering” the polyurethane and smoothing out any bubbles.
Vertical surfaces like legs should receive several thinner coats to prevent running. I know what it’s like to get impatient as you near the end of the process. As you begin to see the final result, you can unconsciously begin to speed up. But you need to resist that urge.
Water-Based Stain
If you used a water-based stain, take some 220 grit sandpaper and gently rough up the surface a bit, being careful not to gouge your surface. Remove the sanding dust and seal the piece.
Water-Based Polyurethane
Applying water-based polyurethane is about the same as applying oil-based polyurethane. The big difference is that you may not have to sand between coats.
Remember- don’t put water-based polyurethane on top of an oil-based stain. Oil and water don’t play well together, and the water-based poly will tend to bead up on the oil-stained surface, unable to coat the surface.
Avoid using too much on one coat, or you may raise the grain on the wood. You’ll get better results laying down 3 to 5 thin coats. Since it dries within a couple of hours, the time invested will still be left then with the oil-based poly.
Final Notes On Finishing
Personally, I prefer to seal my wood projects with wood an alkyd varnish on top of a good sanding sealer. It’s pretty easy to apply. Just don’t confuse it with a polyurethane varnish.
Polyurethanes are a great choice for heavy traffic areas or furnishings that are subject to harsh environmental conditions, providing a tough protective surface.
Polyurethane is a one-chance application. If you get it wrong the first time, you’re either stuck with the results or have to take other drastic and costly measures to get it right.
Related: How Long to Let Stain Dry Before Polyurethane?
Alkyd varnish is much more forgiving. An alkyd finish allows you to easily sand runs and drips and then add a second coat. The most common 2 choices you’ll see at the local hardware store are Gloss and Satin. Gloss is shiny, and Satin is flat. If you want to have a sheen that is not as shiny as Gloss, you can mix equal parts of Gloss and Satin to produce a Semi-Gloss finish/seal.
Your best bet for the last undercoat is a sanding sealer, at least when it comes to getting a perfect base for a wood-varnish finishing topcoat. Since it is made with more solids than regular clear coats, it is much easier to sand to a smooth surface.
If you decide on an alkyd wood varnish, you will probably need to go to a retail paint store such as Sherwin-Williams or somewhere similar. Very few hardware stores carry it these days.
Try to pick your staining and finishing materials from the same manufacturer, if possible. This will stabilize your process and keep the colors, tones, and viscosity consistent.
Wrapping It All Up
I hope you have enjoyed this article, and I especially hope you learned something new that will help you with your next project.
In summary, the primary points you should take with you are the following:
- Anyone can learn to stain the wood the right way. It’s just a process.
- Staining wood can be accomplished with either water, oil, gel, or varnish-based stains.
- Staining is not the same as finishing. Staining affects the tone or color of the wood and brings out the beauty of its natural grain.
- Finishing is sealing the wood from moisture and environmental damage.
- Not all stains and sealers play well together.
- Consider the sealer you will use carefully – sealing is not mandatory if you will keep the piece indoors.
- Practice makes perfect. Don’t beat yourself up if you don’t get it on your first try.
Further Reading: How to Lighten Stained Wood
Frequently Asked Questions
-
Do I have to apply a top coat on stained wood?
A topcoat protects the wood surface. The question is how many coats and what to use for a topcoat. Please review the section above titled “Finishing”.
-
How long should I wait before wiping the stain off?
After applying the coat of stain, wipe immediately if you want a light tone, or wait 5-15 minutes if you want a darker tone.
-
Does the stain get darker as it dries?
Keep in mind that when paint dries, it appears darker than when it is wet. Stain tends to dry lighter.
-
What happens if you don’t wipe off the stain?
Wood stain is designed to penetrate into the grain of the wood, not to remain on the surface. If you spread it too thickly or forget to wipe off the excess, the material that remains will become sticky and will ruin the job.
-
Can you stain over varnish?
Staining over a varnish is possible, but set your expectations right. Staining results are always better when working with fresh, untreated wood. For the best outcome, remove any grime, dust, or debris by roughing up and cleaning the old coat of varnish first. This way, you will create more surface texture for the stain to adhere to.
-
How many coats of stain should you apply to a deck?
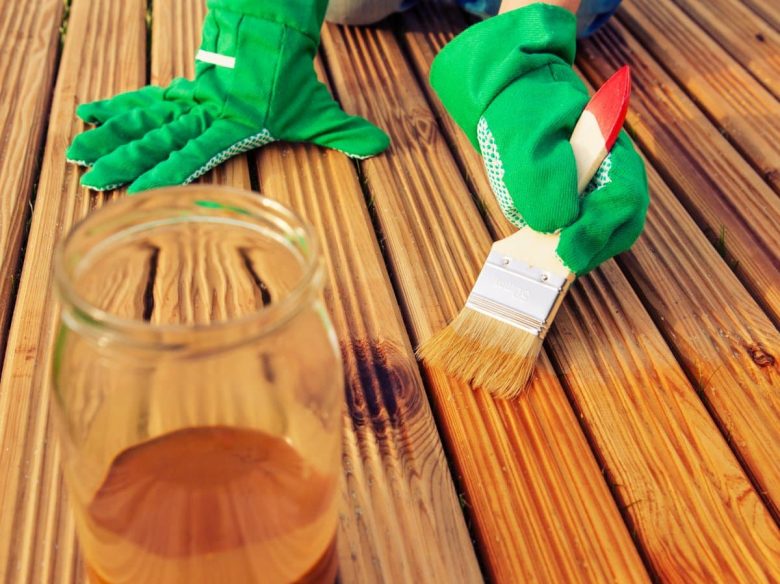
For deck staining, add as many coats of stain that the wood can absorb. Two to three coats are usually ok for woods that aren’t very dense. Very dense hardwood may only absorb just one layer of stain.
-
Should I sand between coats of stain?
Sanding between coats is not necessary, but it will provide a better finish. After a coat has dried, use 220 or 240-grit sandpaper or extra-fine steel wool to lightly sand the surface. Clean the surface with a damp cloth. Sanding produces a white film over the finish but will disappear as you apply the next coat. Do not sand the final coat.


2 thoughts on “Wood Staining Guide For Beginners: All You Need To Know”
Appreciate the valued information in your articles on woods for outdoor furniture and on food safe finishes. I’ve been a woodworker for over 50 years and every day I learn some valuable info. Thanks for sharing.
I am not very confident when it comes to this but if time permits I would gladly do it. Being stuck to work never gave me much luxury of time. I guess I should be spending time more on easy crafting at home