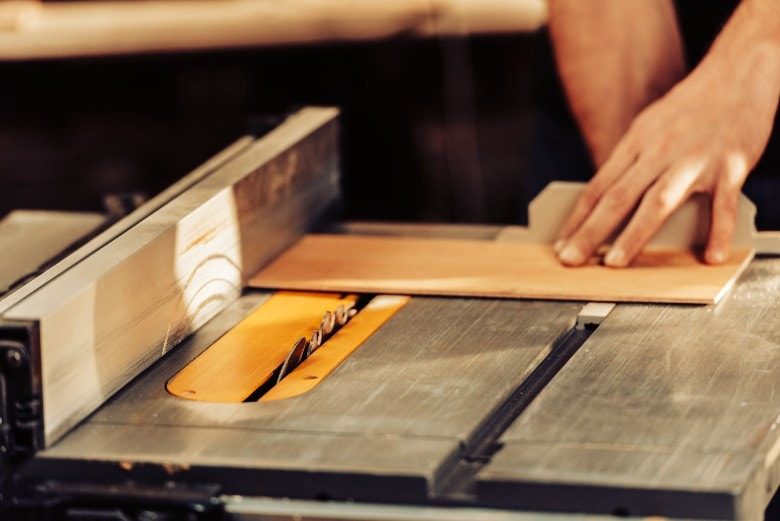
For many beginner woodworkers, buying a table saw usually becomes the number one priority (outside of their safety equipment). While today’s table saw designs provide the latest advances in technology, the importance of table saw accessories cannot be understated if you want to get the most out of your table saw.
The following are 12 must-have accessories for your table saw. Some need to be purchased, and others you can make; all are worth a closer look.
12 Table Saw Upgrades You Must Have
Push Sticks And Push Blocks
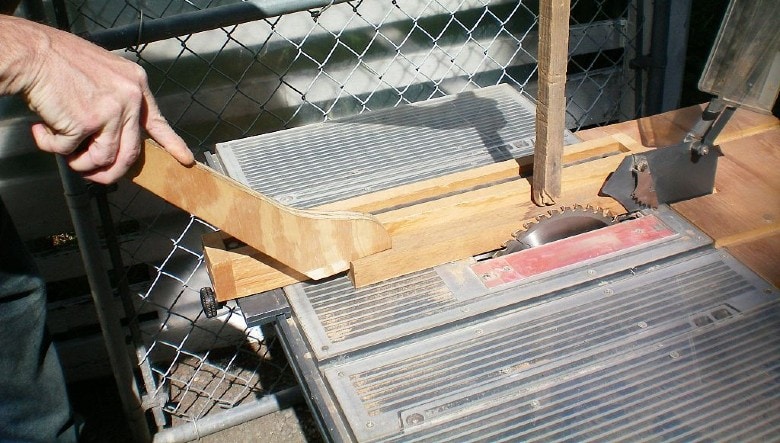
Once you spend some time with your table saw, it is easy to see why experienced woodworkers exercise plenty of caution when using it. The table saw blade chews through materials almost as quickly as you can feed it. That same saw blade could potentially chew through your fingers instantly, making a push stick and push block mandatory table saw safety accessories.
The push stick was the first item I learned to use in conjunction with my table saw, and it should be yours as well. Its simple design consists of a long body with a notch on one end.
It allows you to apply side pressure on wood as you push it through a cut. Adding a slight curve helps create downward pressure while cutting, though it is at the contact point and not across the face.
If you wish to create more downward pressure, push blocks are the table saw accessories you need. It consists of a body that has a handle on top and an overhanging lip on the back.
You can place the push block over the wood and push it through the cut. The lip catches the back of the board. You can apply sideways pressure as well if the block has an overhang along the side.
Using a push stick and a push block in conjunction allows you to maintain three-way pressure: holding the board down on the table, pushing it against the rip fence, and moving it into the blade.
These table saw accessories should be in every woodworker’s shop. I can count on my fingers the times a push block or push stick saved me from losing them. It is worth noting that I rarely experience kickbacks, either.
Safety Power Switch
Control knobs and switches do not advertise as important table saw accessories and sell as convenience features. A safety power switch is something that your table saw should come with or be an item that you install once it is in your shop.
The safety power switch allows you to quickly shut down the electric motor without fumbling for the on/off switch. These table saw accessories are over-sized and should be easy to activate with a bump. The best designs are hands-free, allowing you to shut down your table saw without having to remove your hands from the wood.
Featherboard
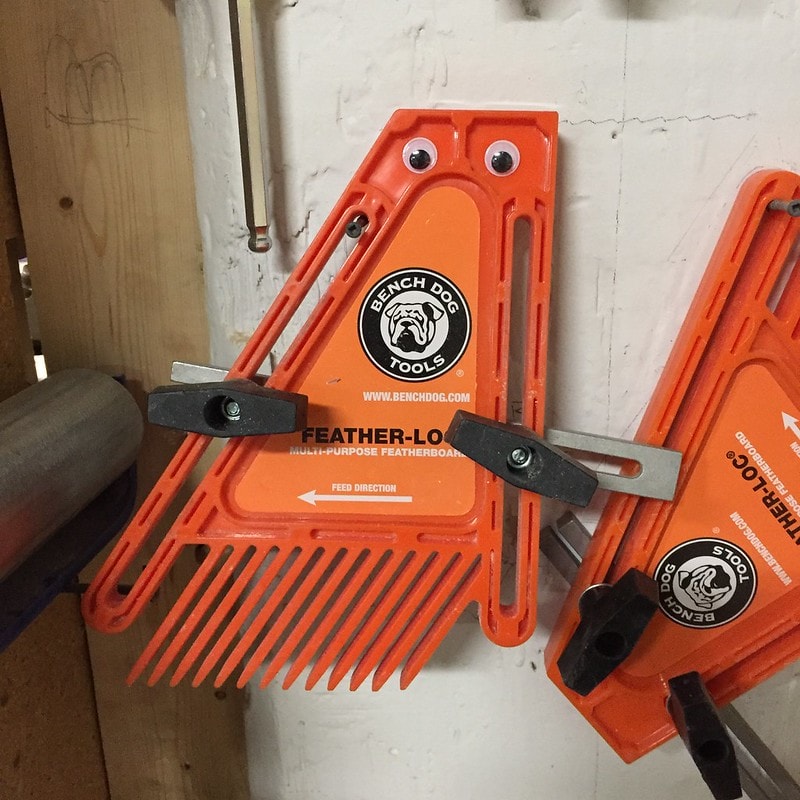
Most table saws accessories used to come separately from the saw itself, including the featherboard. Many of today’s table saws sell with this safety device, and a featherboard is easy to find if yours does not include one.
You can install or make one of these table saw accessories with ease. The design is a board cut at an angle along one end, with fingers cut into that angle.
Setting the featherboard up at an angle towards the workpiece will allow it to travel through the cut but resist moving backward. The fingers will keep the wood pushed against the table saw fence (if placed on the table) or against the tabletop (if connected to the table saw fence).
Related: Best Table Saw Rip Fences (2024 Review)
Using a featherboard on your table saw allows you to create cleaner cuts as well. That is because the featherboard maintains consistent pressure as the workpiece moves.
A featherboard allows you to keep your fingers clear of the table saw blade as you work. However, it is worth noting that using a featherboard will increase your setup time.
Zero-Clearance Insert
Your table saw includes a removable throat plate that sits on the tabletop around your blade. The problem is that there can be a substantial gap between the table saw blade and the edges of the throat plate opening. Zero-clearance inserts are table saw accessories that minimize that gap.
You might find a table saw that comes with a zero-clearance insert, but you will most likely have to buy or make one yourself. If you buy one, make sure that it fits the table saw that you have.
A zero-clearance insert replaces the existing throat plate on your table saw. It slides into place like the throat plate, and it provides a slot for your table saw blade to push through from under the tabletop.
Most inserts that provide zero clearance provide enough space for a specific blade kerf (along with a fraction of space to either side). The tight opening prevents smaller pieces of debris from falling through the slot. It also offers more surface for the wood on the backside, giving additional support to both sections after they are separated.
You will need more than one zero-clearance insert if you work with blades of varying widths. Inserts are not used on dado blades that wobble or on dado stacks.
Good Quality Blade
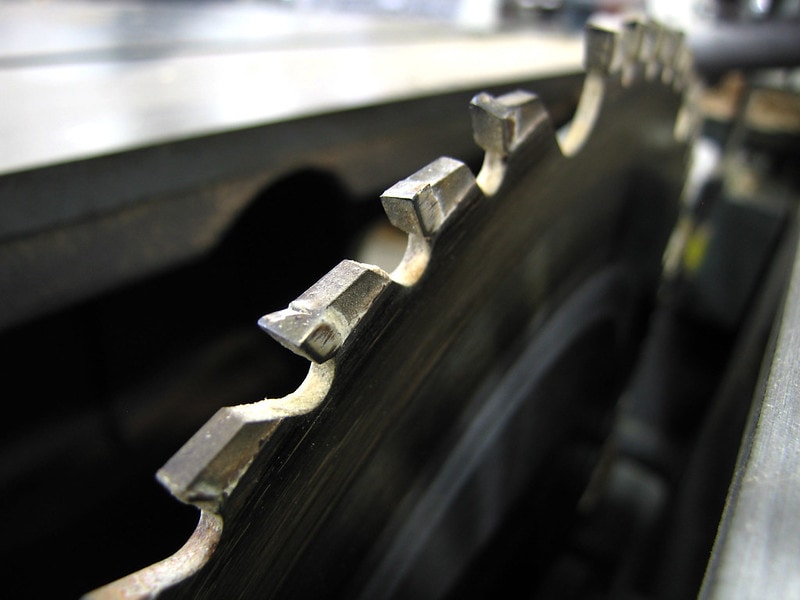
The topline table saw accessories are the table saw blades that you use. A saw blade has more effect on your cuts and how well they turn out than any other part of the saw. Understanding what different saw blades do will allow you to match them to your cuts.
Flat top grind (FTG) blades cut fast and are good at making rip-cuts along the grain. Most multi-purpose blades have angled teeth (ATB), with individual teeth alternating angles to the left and the right.
Combination blades (ATBR) follow a five-tooth pattern of four ATB teeth followed by a raker FTG tooth, which provides clean all-purpose cuts and cross-cuts. Specialty materials require a configuration like the (TCG) that uses a chamfered tooth for clearing a path followed by an FTG tooth to clean up.
Low-powered table saws cutting into hard materials may need a thin kerf blade. It will not bog down as much as the material removed is less than that with a normal-kerf saw blade.
Tooth count is also a factor, with many lower tooth blades designed to rip-cut along the grain quickly. Using a 40-tooth saw blade is best for general-purpose cutting, while higher tooth counts work well in dense fibers or laminate.
Related: Best Table Saw Blades
Dado Blade Stack
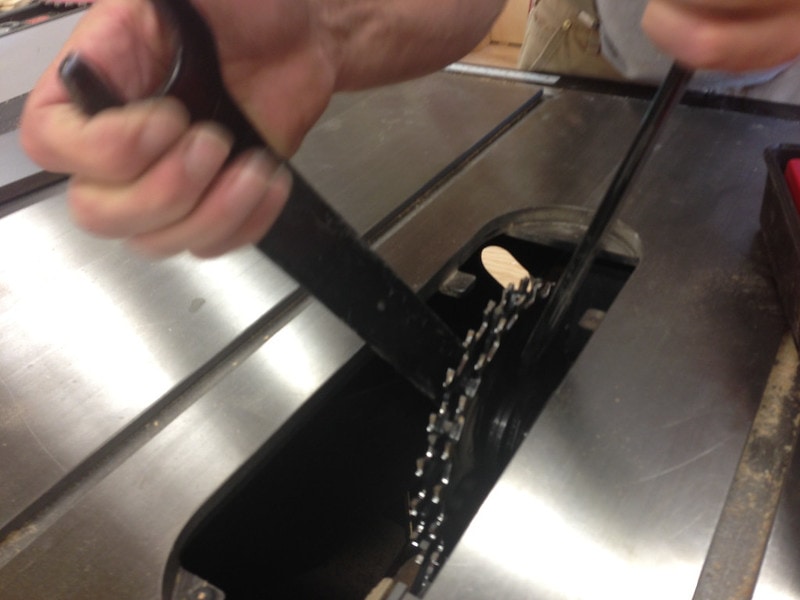
One of the more time-saving table saw accessories that you can buy would be a good dado blade stack. If you like to make larger cabinet pieces like bookshelves and display cabinets, a dado blade stack is worth the investment.
Before you can buy a dado blade stack for your table saw, you must first verify that it can equip these types of table saw accessories. The arbor size is critical, as it must be long enough to hold the stack and provide threads to secure the lock nut. Cutting grooves and other joinery will require sufficient power as well.
Unlike a single wobble blade that makes an S-cut through the wood, a dado stack uses multiple pieces to create the desired width. A dado stack will use multiple blades (outer chipper blades and interior cutting blades) and spacers between the blades.
The accessory set can cut dados, grooves, half-laps, rabbets, and tongue & groove joinery. Once you have the desired kerf width, you can usually cut the joinery in one pass. A single blade requires several passes, which takes a lot of time.
It is worth noting that dado stacks are easy to source in the North American market but are unavailable on most European woodworking sites.
Aftermarket Miter Gauge
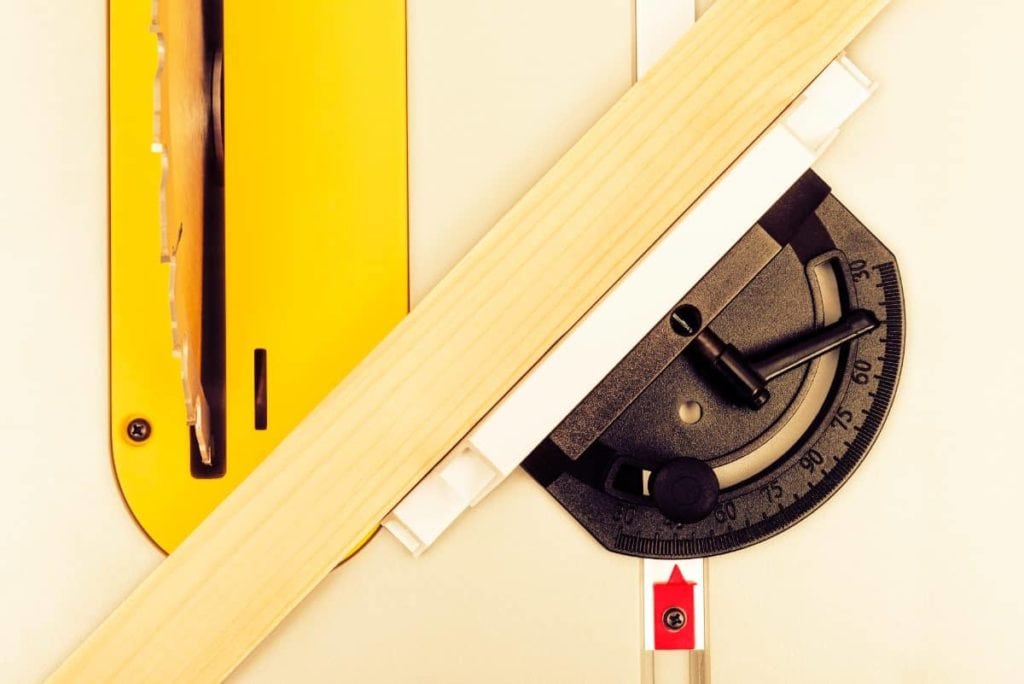
A standard among table saw accessories that you find with most product purchases is a miter gauge. These items tend to be cheaply made, even among the higher-priced table saws. They tend to be hard to set and can even introduce inaccuracies.
Purchasing the best aftermarket miter gauge became necessary for me after I struggled to keep a proper angle that would not move as I worked through the cut. You will notice many improvements if you get one for your table saw (if you have not already done so).
Buying these table saw accessories aftermarket provides you with improved movement performance. These tend to fit better into tabletop grooves and have smooth surfaces.
Adjustment knobs will hold in place once set. The threads are clean and provide plenty of tension. The markings are laser-etched, making them easy to read and accurate in placement.
The better aftermarket designs include positive stops at often-used angles, which allows you to set the gauge quickly. Some models are available with an attached fence that provides more surface contact with your workpiece.
Angle Gauge
Cutting bevel angles on the end of your workpiece can be difficult. The angle gauge is one of those table saw accessories that saves time by allowing you to set the correct angle the first time. Adding digital features to the design made this item compact and easy to use, as well.
Cutting a bevel angle with your table saw blade involves tilting the table saw blade to a determined angle before cutting. Manufacturers have improved the cranking systems on their products, but you will find that most lack the accuracy you need for fine woodworking.
Using these table saw accessories is easy, as you attach the magnetic strip to the table saw blade. Once you verify that the saw blade is perpendicular, you can set the gauge to zero. The internal mechanism will detect the angle as you adjust the saw blade, recording it on the digital readout.
Today’s products are accurate within 1/10-degree, providing you with fine-tuning that you can not get from the hand controls on your table saw. Instead of having to cut and measure, you can get your desired bevel angle with one pass.
Crosscut Sled
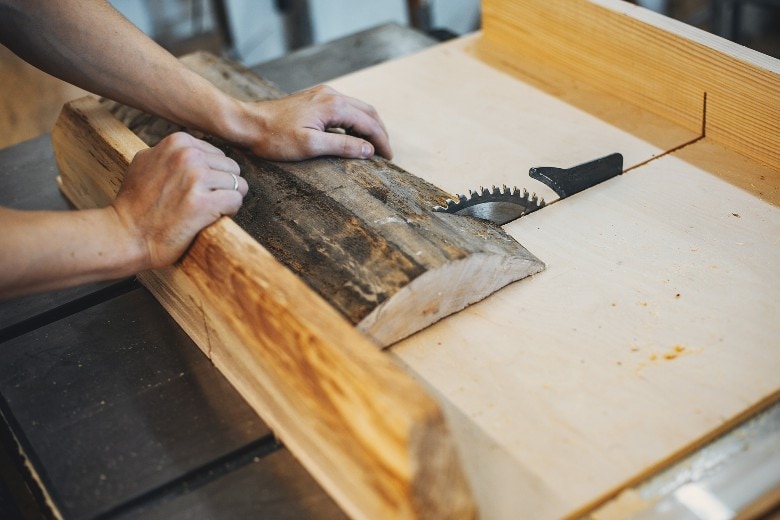
One of the first table saw accessories that I made was a crosscut sled. It is an item that is used almost every time I turn on my table saw. The crosscut sled is an example of a woodshop jig that instantly improves your woodworking results.
If you are a woodworker who uses their table saw as the only tool for most cuts, then these table saw accessories are a must-have for accuracy. The crosscut sled allows you to make perfect cuts in a fast and repeatable manner.
The key is that the sled runs along the miter gauge groove on the tabletop. A large base holds materials securely as you run them across the table saw blade. Fences on the front and back provide a surface to push your workpiece against to keep it in position during the cut.
You can make a crosscut sled yourself. Most woodworkers will use plywood or melamine materials for the sled. Components that wear out during use are replaceable, extending the lifespan of the crosscut sled. Designs are also available that hold your pieces of wood at an angle, allowing you to make fast miter cuts.
Adjustable Link Belt
The traditional V-drive belts that provide rotation from the electric motor to the saw blade work, but they also generate a lot of vibration as they move. New belts run the smoothest, but once it sits in a position around pulleys for any length of time, it will develop a set curve. That will make for a hard startup with a jump and increases both vibration as well as sound.
A possible solution is to replace your current V-drive belt with an adjustable link belt. As the name implies, these belts are individual links that are removable to create tension with the proper overall length.
The links will not produce bumps, as each of the links is independent of the other. That allows it to function the same if it sits for a day or several months. The adjustable link belt maintains optimal length for contact, preventing it from slipping and reducing power transfer.
Another feature of this type of belt is its ability to absorb vibration. That will reduce the vibration your table saw produces. It will also run at a lower decibel level.
Mobile Base For A Stationary Table Saw
One thing that most home woodshops lack is space. That can be a problem for big power tools like a table saw. You need room for the table saw and room for the workpiece.
One of the table saw accessories that you can easily overlook is a mobile base. Providing your stationary table saw with a mobile base allows you to move it from place to place in the shop. You can store your table saw along a wall or other location that it can not operate from, then move it to a place that you can safely cut.
A mobile base can make the difference between owning a full-sized table saw or downgrading to a smaller job site design with less power and features. You can also move the stationary table saw to a location with access to dust extraction, which keeps your shop clean and helps you breathe better.
Keep in mind a mobile base needs to include wheels that can easily lock in place so that the table saw does not move while you are in the middle of a cut.
Related: Best Table Saw Mobile Bases in 2024
Outfeed Table
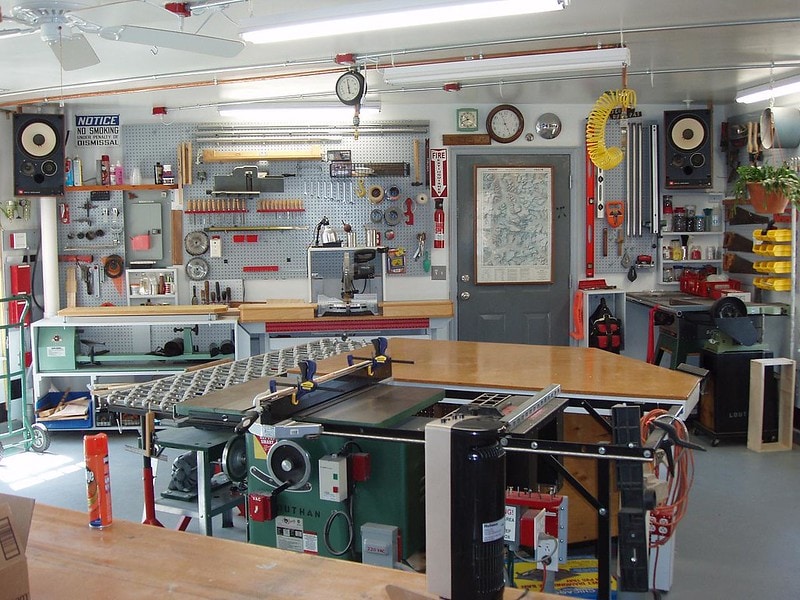
Some table saw accessories become necessary to you based on the type of work that you do. An outfeed table comes in handy for most woodworkers but is nice to have if you do lots of rip cuts on longer pieces of wood.
In essence, an outfeed table is a surface used to support material once it passes behind the saw blade. While some designs come with a designated outfeed table, most are extensions that do not reach far beyond the table saw’s surface.
The support that an outfeed table provides will allow you to rip cut long boards without them lifting off the table once enough of the timber passes the saw blade. That will help to keep the wood sitting on the table. You will find making a rip cut easy and safe when using an outfeed table.
The room that these table saw add-ons need depends on the material lengths you tend to work with and the shop space. Larger outfeed tables can include wheels so that they can move when not in use. Designs can also include shelves to hold materials or tools beneath the tabletop.
You can design an outfield table that will fit your workshop. That will allow it to fit correctly and also give you a chance to build something as well.
Upgrade Your Table Saw
These items are designed to improve your woodworking skills. They can save you time in the shop and help you keep all of your fingers. Most importantly, using them should increase your enjoyment of woodworking!

