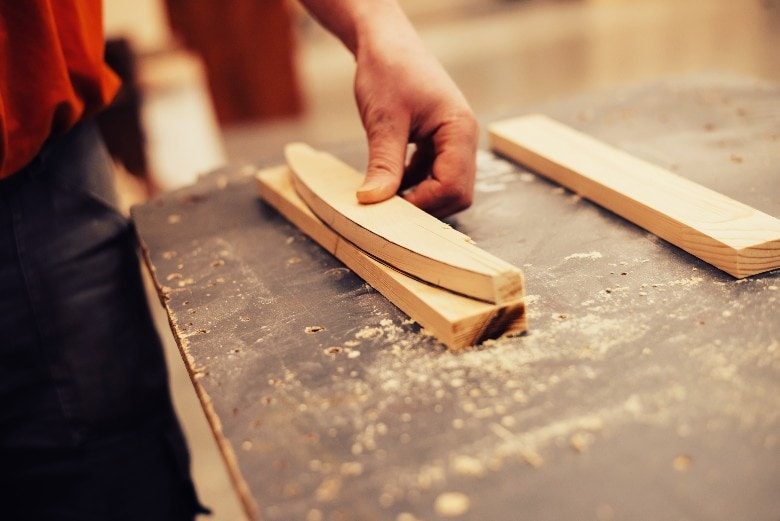
Have you noticed that your table saw started leaving burn marks on your wood? You are not alone. Read this article to the very end to learn the most common reasons why table saws burn wood and how to fix this on your saw.
The Table Saw Blade Is Dirty

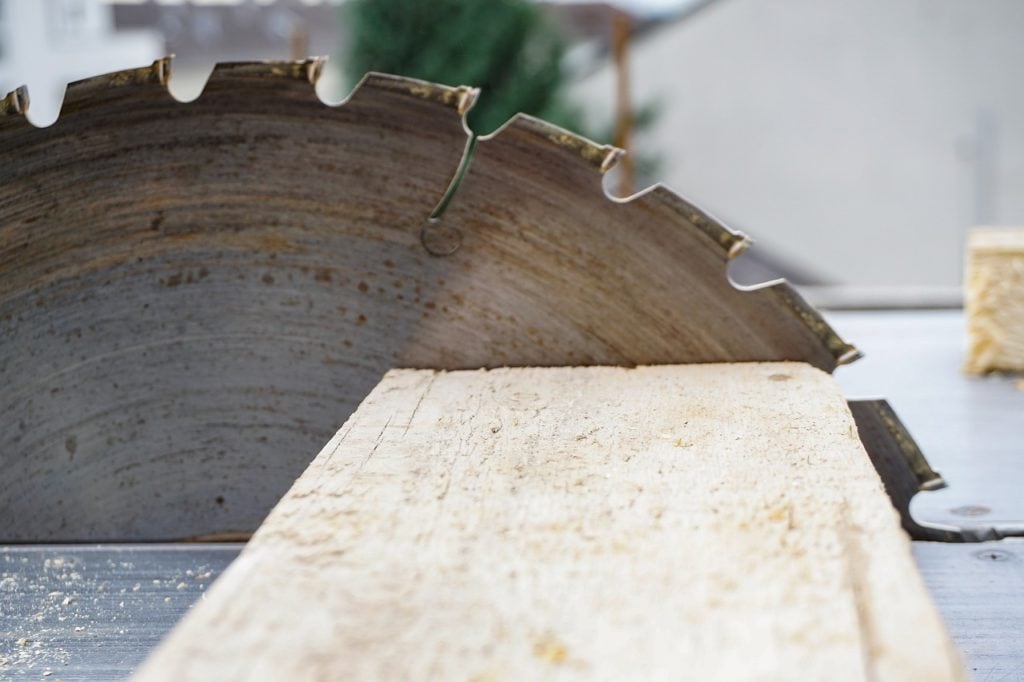
Perhaps the most common cause for table saw burning wood is a dirty blade. A dirty saw blade will perform less effectively and leave a rougher surface (including possible burn marks). Using a dirty saw blade can wear down the teeth sooner and cause heat-related damage if you do not clean it, as well.
One of the reasons your table saw blade becomes dirty is the build-up of tree resins. Resins sit within the wood grain and attach to the saw blade as it cuts through the timber. The resin coats the blade, making teeth edges dull and smooth metal surfaces feel bumpy.
Burnt wood dust is another source that will dirty your table saw blades as you work. Your saw blade builds heat as it cuts, which will burn small dust particles. Those particles can stick to the saw blade’s surfaces, creating a layer of material between the cutting edge of saw teeth and the wood you are cutting.
If you notice that your table saw blade is not performing as it first did, you will want to give it a clean. Always follow the proper steps for safely removing and replacing your table saw blades.
Steps for cleaning a table saw blade include:
- Remove large debris with a wire brush
- Submerge blade in cleaner
- Agitate solution and allow to soak
- Scrub the blade
- Rinse with water
- Dry off the blade completely
Once you have removed the saw blade, examine it. If there are large pieces of debris or build-up, use a wire brush to remove them. Cleaning off these deposits will make the following steps faster and more effective.
Find a pan that can hold the circular saw blade and fill it with a cleaning solution diluted with water. Place the saw blade into the solution. Woodworkers use everything from laundry detergent to specialty cleaners.
Stir the solution while the blade soaks to keep it suspended in the water. Place your finger in the center hole of the saw blade and move it around. Let the saw blade soak between 5 and 10 minutes.
Once that is complete, use a soft-wire brush to scrub the blade. The bristles will be strong enough to remove layered debris but should not damage the saw blade.
Rinse the table saw blade with water to remove any detergent or other solutions from the surface. Make sure that you dry the saw completely before re-installing it or storing it away. That will prevent any potential corrosion or rusting issues.
The Table Saw Blade Is Dull

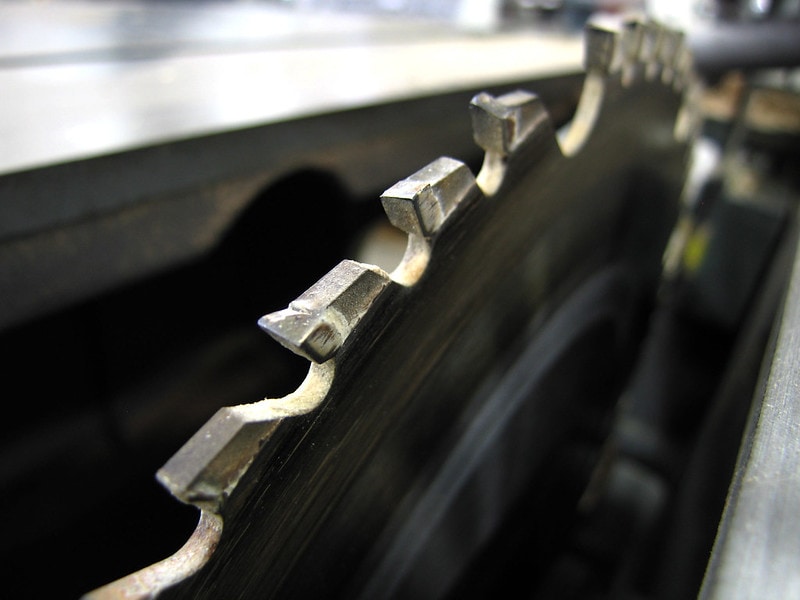
Another source of the wood burns along the table saw cuts on your project could be a dull saw blade. If your table saw blade is not dirty, you should check the teeth on the saw blade to verify they have a proper edge. A dull table saw blade needs to be sharpened or, if that is not possible, replaced.
The more that you use your table saw, the duller your table saw blades become. Another factor contributing to dulling is the hardness of materials, as hardwoods will dull your saw blade faster than softwoods. The metals your table saw blade consists of will also determine how long it will hold an edge.
How do you know if your table saw blade is becoming dull? Performance.
A dull blade will begin to generate more chipping and tear-out on the cut. That is caused by the teeth breaking the wood fibers instead of slicing them.
The time it takes to make a cut increases with a dull saw blade. That extra time in contact with the wood can cause burn marks.
Taking more time to cut and break fibers instead of slicing through them will bog the blade down. If you feel resistance or notice slower performance, a dull saw blade could be the problem. You may also hear your electric motor as it works harder to rotate the saw blade.
Finally, a dull blade can make it more difficult to cut straight. Ripping through fibers, especially on hardwoods, can pull your workpiece away from the fence or sled backstop.
If you plan to sharpen your dull table saw blades, you will need to:
- Even out tooth height
- Set saw blade kerf
- File teeth
Start the process by inspecting the height of the blade’s teeth. You can clamp the blade and file down any teeth that stand higher than the rest.
Your next step will be to set the kerf width of the saw blade. Depending upon the blade design, the teeth are misaligned (sitting to the left or right of the blade’s center). A hand-held saw set bends each tooth to the proper angle.
The teeth are now ready for sharpening. Hand files designed for the task will produce the proper tooth shape. Selecting the correct angle as you sharpen creates the cutting edge used to slice through wood fibers.
If you don’t want to bother with sharpening your blades and simply want to buy a new one, make sure to read my review of the best table saw blades first.
Advanced: How To Sharpen Table Saw Blades
You Are Using The Wrong Table Saw Blade
A clean and sharp table saw blade can produce burn marks, especially if it is the wrong saw blade for the cut you are making. The improper tooth configuration or the number of teeth will take longer to cut, generating the heat that creates wood burns.
The first thing to consider is the saw blade kerf, which comes in full-kerf or thin kerf blades. Full-kerf blades hold edges longer as they are thick and require plenty of horsepower to rotate them. Thin kerf blades work well on benchtop models and cut well into hardwood fibers.
Your next consideration should be a crosscut blade, a rip-cut blade, or an all-purpose saw blade. A lower tooth count on rip-cut saw blades is less than 40 teeth. Crosscut saw blades have more than 60 teeth, while all-purpose saw blades have a tooth count between 40 and 60.
The lower tooth count allows a blade to cut quickly, which is needed when making long rip cuts along the grain. A high tooth count produces a smooth end on wood fibers when cutting across them. Using the middle-range tooth count allows the saw blade to function with either type of cut, but it will not produce the best results for either.
Four types of tooth grinds are available for woodworking:
- Flat tooth grind (FTG): Also called rakers, they are flat and cut quickly. It’s found on Rip Blades.
- Alternate top bevel (ATB): Alternating angles on teeth. Used on all-purpose and crosscut blades.
- Combination (ATBR): Tooth configuration is four ATB teeth followed by a raker. They create clean cuts for joinery.
- Triple-chip grind (TCG): Tooth configuration alternates between a raker and a chamfered tooth. These are used on dense woods and other materials.
You can learn more about table saw blade types here.
A Slow Or Uneven Feed Rate

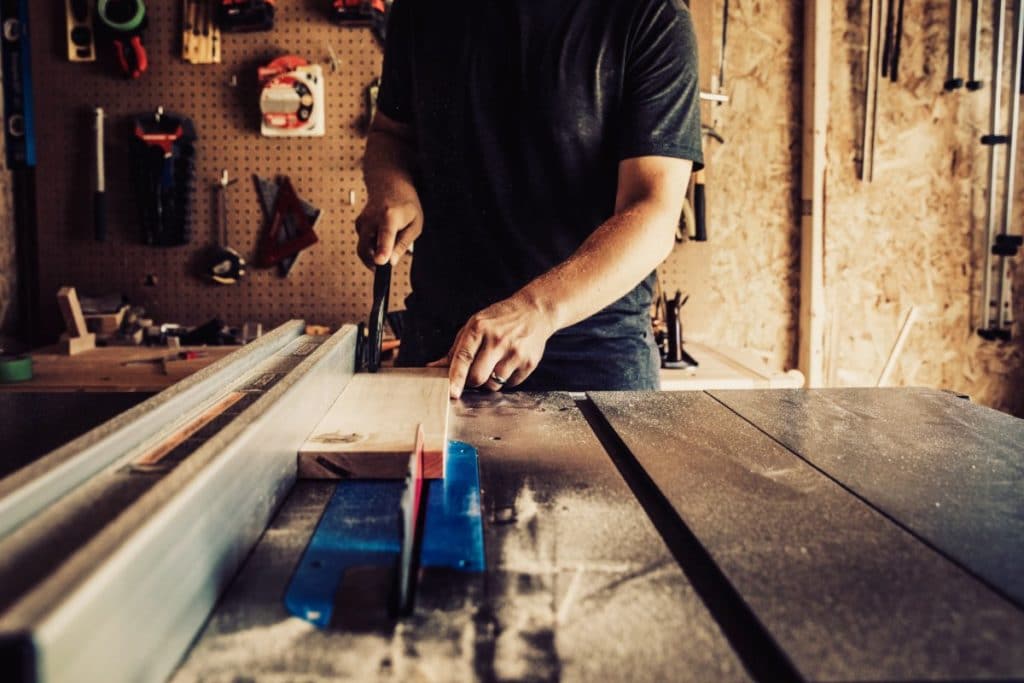
You can still get wood burns even if your equipment is working and set up correctly. The speed at which you feed the workpiece through the cut directly influences the final results. Going too quickly can produce rough edges, while slow feed rates will create burn marks as you cut.
Beginning woodworkers need practice to determine the best speed for feeding certain woods into a table saw. Species like cherry are prone to burns, and you will need to speed up the feed rate to prevent it. Thicker timber takes longer to cut through, making it more susceptible to burns as well.
Until you learn the best feed rates with more woodshop experience, you might take a practice cut or two with some scraps to gauge the right speed.
Your Table Saw Blade Is Not Aligned
Your table saw may need to be aligned, and an aligned table saw can fall out of alignment. That can be dangerous as it can result in kickbacks. It will also produce burn marks on your projects.
The table saw blade needs to be parallel with the miter slots. If it is not, your workpiece will move away from (or towards) the saw blade as you cut. That causes friction, which results in burns or kickbacks.
Here’s how you can check for alignment:
- Place a combination square or scrap with a screw in it against the closest wall of the miter gauge track
- Adjust the ruler or screw so that it makes contact with the front tooth
- Mark the tooth and rotate the blade so the tooth moves to the backside of the blade
- Slide your measuring device so that the ruler or screw is at the back of the blade
- If you can make the same contact, the blade is aligned. If not, then you need to adjust
Aligning the blade involves adjusting the motor trunnions. Your table saw’s owner manual will describe how you can do this.
Don’t Get Burned
Cleaning table saw blades is a part of using a table saw safely. A clean blade produces better, more accurate cuts and reduces the risk of accidents.
Making cuts on your table saw without leaving burns is easy once you understand the causes. Taking the time to figure it out will give you the results you want and help keep your woodworking safe and fun!

