This article will introduce the featherboard, an accessory for use on table saws.
We use table saws to achieve accuracy when cross-cutting, ripping, or bevelling timber. Yet, we gain that accuracy only when the wood is held flat to the table along its length and the edge is running flush along the rip fence. Any deviation and the cut wanders.
Enter the featherboard, a practical but straightforward device that maintains pressure on the wood to ensure it stays flush and flat and moves in one direction while protecting against a couple of common safety issues that can occur with table saws.
When I began my woodworking career, I didn’t know of table saw accessories such as featherboards and push sticks. That lack of knowledge caused timber wastage, poor quality fit-up of joints, and the odd safety issue that could have ended badly. If you’re new to woodworking or table saws, I strongly suggest you consider buying or making your own set of featherboards.
In this article, we’ll take you through:
- What featherboards are
- The safety benefits they bring
- How they work
- Correct adjustment
- Whether to make or buy your featherboards
So, What Is A Table Saw Featherboard?

When we’re cutting wood with a table saw, it’s essential to securely hold the timber while steadily feeding it onto the blade. However, the blade is turning toward us, pushing the wood back toward you.
I’ve already described what can happen when not holding wood flush with the tabletop and the fence; you get an inaccurate cut. Yet, if the blade manages to get a grip on the wood, instead of pushing the wood toward you, it throws it – violently and faster than you can react, which is called kickback. The wood can hit you in the face or body, causing severe injury, or the sudden movement of the wood can cause your hands to slip and come into contact with the blade.
If you need any more convincing of the dangers of table saws, read this study, which claims that annually in the US, over 30,000 people suffer injuries from table saws.
Think of the featherboard as a second pair of hands. Fastened to either the tabletop, fence, or both, a featherboard takes care of the need to hold the wood flat and flush while also resisting the force of the blade pushing the timber back toward you. With those distractions removed, you can concentrate on safely and steadily feeding the wood onto the blade.
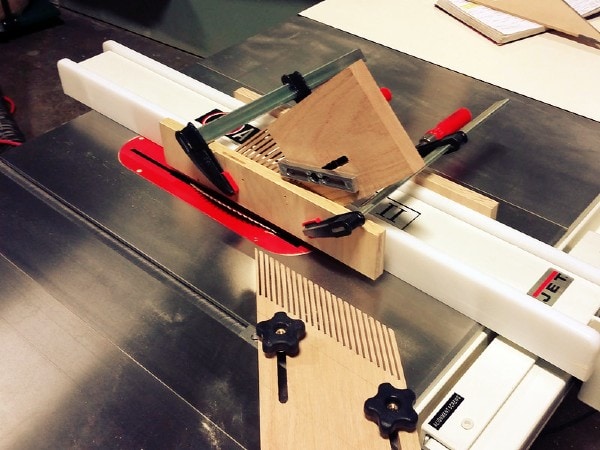
If fastened to the fence, it maintains downward pressure on the timber, pushing it flat onto the tabletop. If fastened to the tabletop, it maintains a sideways pressure on the timber, pushing it firmly against the fence. It’s quite usual to have one of each fitted simultaneously, ensuring the wood stays flush against both faces to provide a parallel and accurate cut.
How Do Featherboards Work?
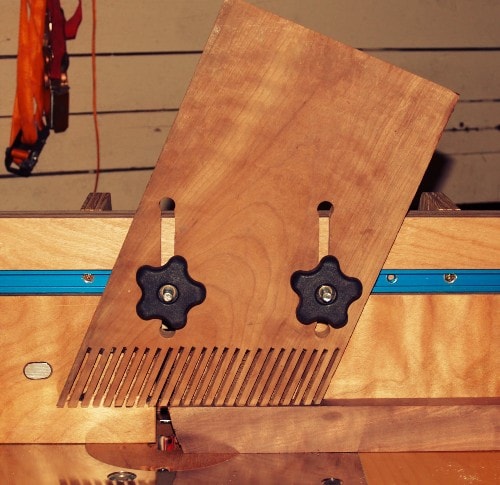
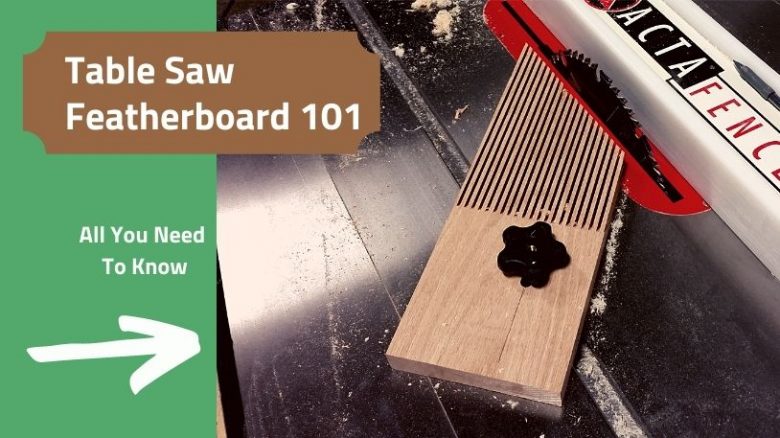
When I was younger, people also used the term fingerboard, and that’s an accurate description of what a featherboard is. The edge of the featherboard has a series of angled fingers. The fingers are thin enough to flex when pushed from one side, and they resist movement when pushed from the other.
The body of the featherboard has two T-bolts that slide into the T-slots of the table saw top or fence. When tightened, they hold and lock the featherboard securely against the tabletop, and when loose, they allow adjustment to slide the featherboard in and out to apply pressure to the wood.
Pressure is evenly maintained against the timber while you feed it through the saw, keeping the wood hard up against the fence and tabletop. Yet, if the saw tries to kick the wood back at you for some reason, the featherboard resists the movement, allowing you to stop feeding the wood or turn off the saw.
How To Set Up A Featherboard

Setting up a featherboard requires an understanding of some basic principles and some testing before use.
- First, ensure the saw is turned off, and then lower the blade down below the tabletop to allow you to work safely with the table saw.
- Place the featherboard on the tabletop with the fingers pointing in the direction of the cut. Have the T-bolts in place in the T-slots on the tabletop, but loosely, allowing the featherboard to slide.
- For regular cutting, you’ll want the featherboard to be just before the blade. Don’t position it over the blade, as it will force the offcut into the spinning blade, possibly causing jams.
- Place the timber you wish to cut against the fence and push the featherboard toward it until the fingers touch the surface of the wood.
- Apply a little more pressure with the palm of your hand to slightly flex the fingers. Tighten the featherboard T-bolts to lock it in place.
- Now, test the pressure by pushing the wood along the fence in the direction of the cut. It should have a resistance to movement, but not so much that you get jerky motion; it should slide smoothly.
- Then, try to slide the wood away from the cut direction, and it should resist that movement.
- Once the wood slides smoothly forward and resists sliding back toward you, the featherboard is ready for use. Remove the wood, wind the saw blade up to the desired cut height, and begin cutting.
Setting up the featherboard for the first time may take you a while to get it all right, but what about finding the right location and getting the correct pressures? However, once you’ve got used to it, the process is extremely rapid and takes no more than a minute or two. Those couple of minutes will make the difference between an accurate cut and a sloppy one while protecting your safety.
Buying Vs. Making A Featherboard
When you’ve been woodworking for a while, you’ll have a range of featherboards in your shop to suit the different cutting, rebating, or dadoing you might do. Yet, when you start in woodworking, I’d suggest buying your first featherboard, which allows you to get used to how they work and the setup procedure. There are plenty of featherboards at reasonable prices for a starter set.
Once you have some experience with the purchased featherboards, you can consider making your own. Keep an eye out for our article on making your featherboard, which is coming soon. We’ll step you through the process from beginning to end.
In Summary
A featherboard is a must-have device in your workshop for use on your table saw. Mounted to your saw tabletop or fence, it maintains a constant pressure on the timber you are feeding through your saw, keeping it flush to the tabletop or against the fence. That constant pressure ensures an accurate and even cut while protecting you from the possibility of kickback.
I strongly recommend the use of featherboards for all ripping, dadoing, and rebating work. Here’s a selection of featherboards to suit both your budget and your use. Buy one, and you’ll wonder how you previously managed.

