For many woodworkers, the table saw is their go-to power tool for cuts. You will be hard-pressed to find another saw in your shop with as much accuracy. The table saw fence allows you to perform clean rip cuts, but new woodworkers may not completely understand this important table saw component.
How do you align it? How is it used? What should you look for when shopping for one?
I have learned some things along my woodworking journey that I want to share with you. What follows is all you need to know about table saw rip fences.
What Is A Table Saw Rip Fence?

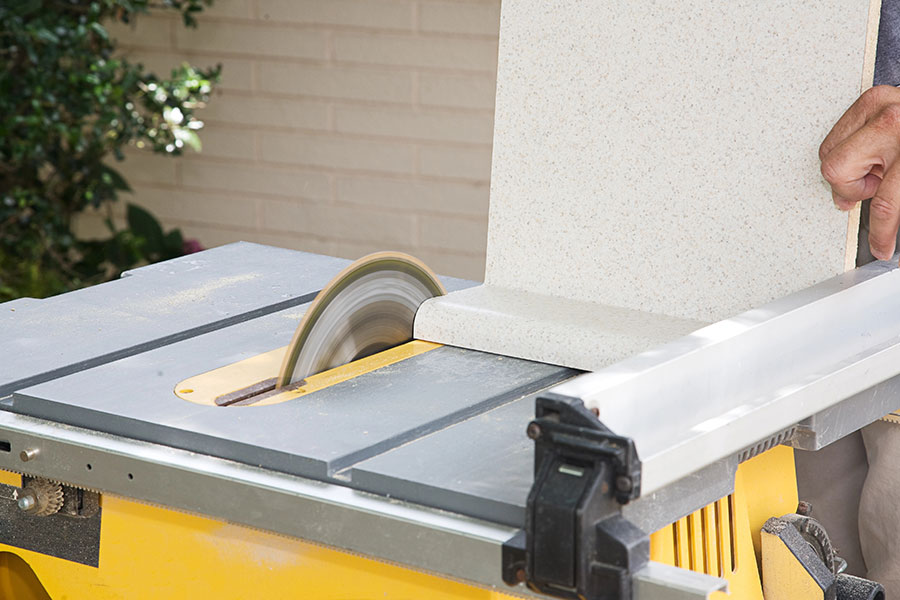
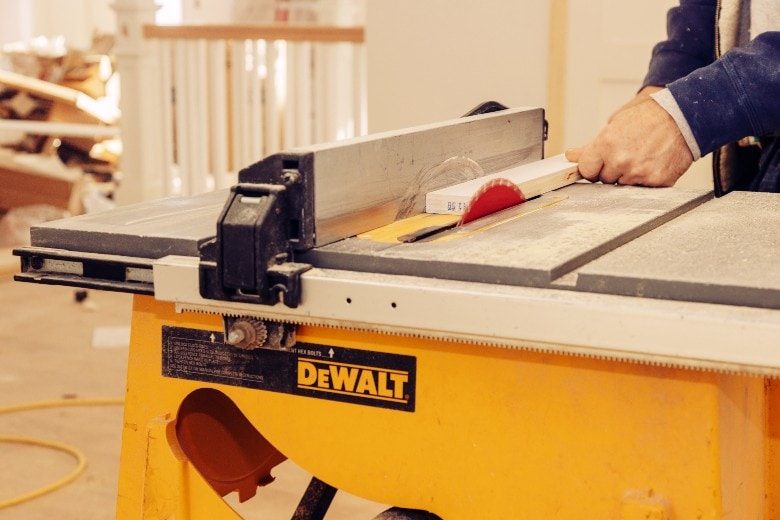
A table saw fence, also called a rip fence, is one of those essential table saw accessories that aid you in making accurate cuts. It sits to the right of the table saw blade and is used to keep your board in place as you make a rip cut along the grain. The rip fence is not for cross-cut alignment (you will use the miter gauge for cross-cutting boards).
A table saw rip fence support surface runs parallel to the table saw blade. The front end of the fence rests near you as you operate the table saw, while the back end rests near the outfeed table (if you have one).
You use the distance markers along the tabletop front edge to set the gap between the fence edge and the saw blade edge. A locking mechanism keeps the fence in place once aligned.
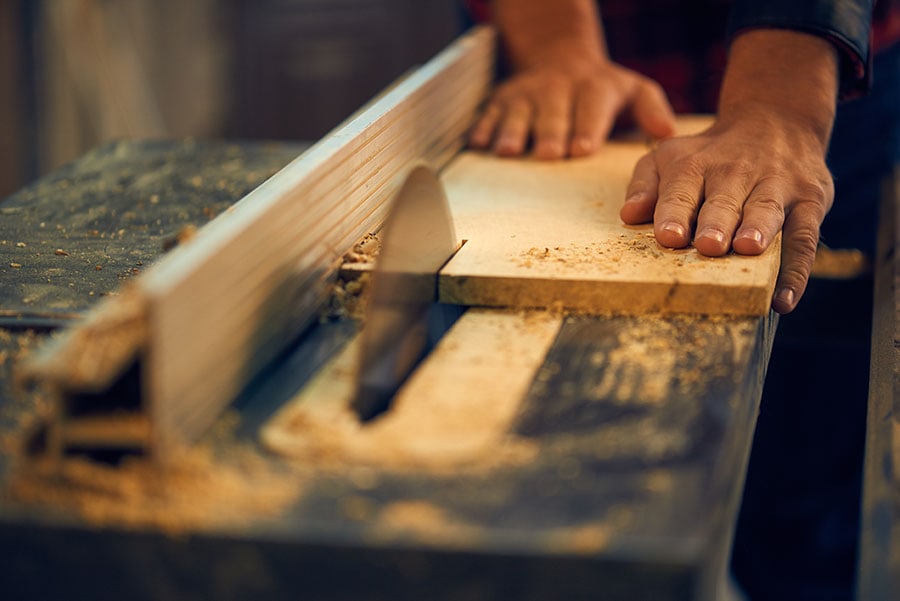
The workpiece is guided through the cut by keeping it against the fence.
How Do You Align A Rip Fence?
For your rip fence to work correctly, you must align it with your table saw blade. A slight misalignment can create off-line cuts, burns, pinches, or even kickbacks.
Before aligning your rip fence, you must align the saw blade to the miter track. Once the saw blade is aligned:
- Insert a combination square into the track – Extend the square’s blade six inches and lock. Insert the square into the front of the miter track. Push the anvil surface against the track edge nearest the fence.
- Push the fence against the blade end, which places the fence in contact with the square. Lock it down.
- Run the square down the track – As the square moves, it should remain in contact with the fence. If it does not, adjust the fence and try again.
You can see this method here, along with three other alignment methods for your rip fence:
How Do You Use A Rip Fence?
Once you have your rip fence aligned with the table saw blade, you are ready to make rip cuts. Using the rip fence is simple, including:
-
Move the rip fence for rough hand alignment
Most cheaper fence designs move by hand. Push the fence into position using the marking lines on the tabletop edge and the alignment mark on the rip fence. You will need to gently tap the fence into the final position if it does not have alignment knobs.
-
Lock fence into place
The rip fence will have one or two knobs or levers that lock the fence in place. Make sure the fence does not move as the mechanisms engage.
-
Make small adjustments for the final alignment
You can make micro-adjustments with knobs on some designs. Other fences require you to tap gently on them to move it fractions of an inch.
-
Align the board with the fence
Use a straight board edge on the fence. That edge needs to remain in contact with the fence through the cut.
-
Use a push block or push stick
These safety devices will keep pressure on the board as it moves. They also keep your fingers and hands away from the saw blade.
-
Watch the fence
As we gain experience, we learn to watch the fence and not the blade. Keeping the board pressed against the fence during the rip cut is important.
Things To Consider When Buying A Rip Fence

- Materials. It all starts with the materials used for the fence. Look for high-quality aluminum. Avoid aftermarket fences with too much plastic.
- Fence connection. How does the fence connect to the table saw? Some clamp at both ends and slide along the surface. Shop for designs that include rack and pinion attachments that will move smoothly.
- Adjustability. How are fence alignments made? Are the controls easy to use? Look for products that will allow you to make micro-adjustments quickly to save valuable shop time.
- Locking mechanisms. Some rip fences use a lever to lock them down to the tabletop. Other models will use knobs that you can turn by hand. Select the style you find easy to use that also provides a secure hold once the fence is locked (no play).
- Accuracy. The fence surface needs to be completely flat. Alignment marks must be accurate to allow proper set-up.
Where Can You Buy A Rip Fence?
If you are buying an aftermarket or replacement rip fence for your table saw, it would be best to shop in person. You can inspect the rip fence before buying it and might be able to try it out!
Most of us have big-box stores close to home. That includes stores like Home Depot or Lowe’s.
Larger urban areas will also have stores that specialize in power tools. That includes chain stores like Granger Industrial Supplies as well as stores unique to the local market.
Rockler is an example of a store that specializes in woodworking.
You can always shop online as well. An advantage here is possible discounted prices due to less overhead.
That includes Amazon, which has several business “storefronts” to shop. Most big-box and specialized chains maintain an online presence.
Markets for tools that are used, like eBay, also exist. It is hard to judge the quality of fences from sites like this, though.
Start Ripping Now!
A rip fence is a necessary piece of your table saw and is easy to set up and use. If you find your current rip fence lacking, then shopping for a replacement will improve your accuracy. Master your rip fence and increase your woodworking fun!

