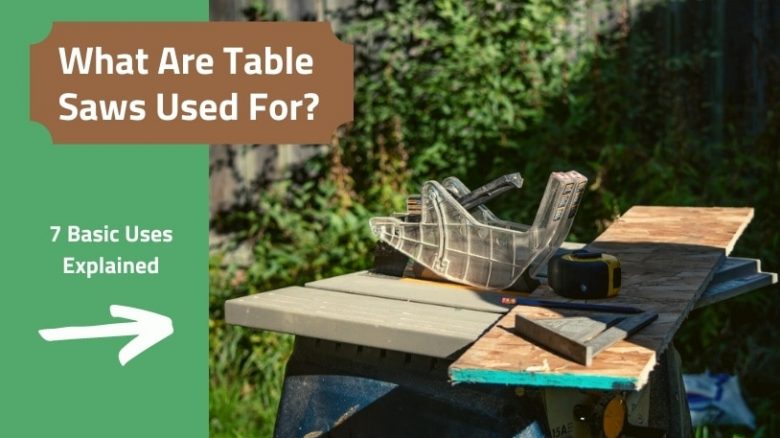
Table saws have become indispensable in modern woodworking workshops. Thanks to demand and mass production, prices have dropped to levels accessible to all budgets. Yet, we often take for granted people’s understanding of the many uses to which you can put a table saw. This article aims to fix that.
I started my woodworking career many decades ago, and it was years before I became aware of tasks that the table saw could complete more accurately and faster than my clunky old manual methods. Today, we’ll discuss the main uses for table saws, explain a few terms, and give some tips and tricks to new users.
First, we’ll discuss the basic functions of the table saw, then some more advanced techniques. Along the way, I’ll mention items I feel are important to know for the best operation of your saw. Stay with me for the next few minutes, and we’ll dive into some detail.
Safety First
Before we start, let’s talk about safety. Pull up a picture on the internet of someone using a table saw, and 60% to 70% of the time, they’ll be doing something wrong, often dangerously wrong.
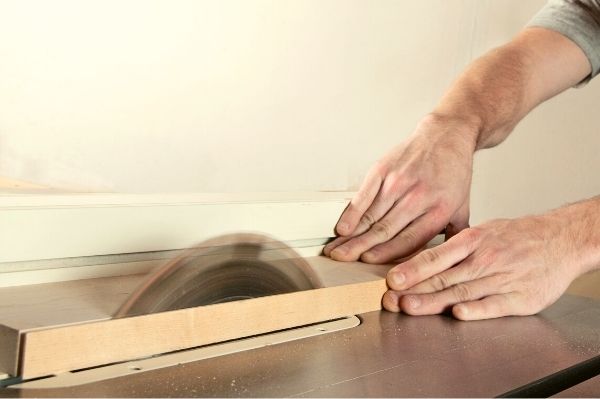
Always wear safety glasses, and preferably ear defenders when using table saws. We’ll introduce you to something called a push stick soon; please use one. They keep your fingers clear of the rotating blade when cutting. Finally, don’t make adjustments, clean the table saw, or remove offcuts until it’s turned off. It takes only a moment of inattention, and you will suffer life-changing injuries.
7 Basic Uses Of A Table Saw
1. Cross-cutting
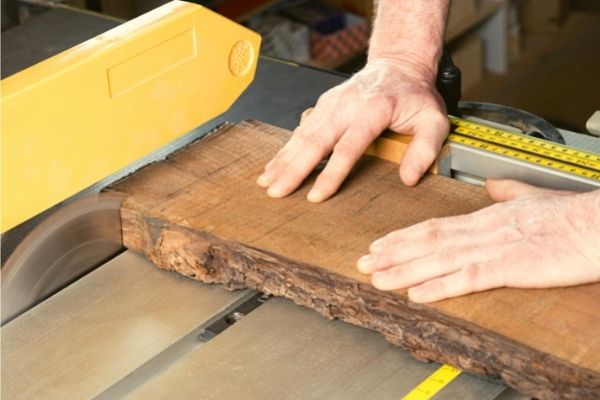
Cross-cutting is when you cut wood across the grain. The grain of wood refers to the orientation of the wood fibers. In a plank you buy from the shop, the grain, or wood fibers, run from end to end. Cutting across the width of the plank is termed cross-cutting because you sever the wood fibers in two.
Three table saw features allow you to make an accurate cross-cut. These are:
- Blade height
- Blade angle
- Miter square accuracy
Blade Height
To achieve the best quality cross-cut, use a blade that is designed specifically for cross-cutting. Cross-cutting blades have smaller and more teeth than rip blades.

- TiCo Hi-Density carbide specifically designed for each application to increase performance
- Perma-SHIELD Non-stick Coating protects from heat, gumming, & corrosion
- Super thin laser cut kerf for fast, durable, and clean cuts
Blade manufacturers recommend that when cross-cutting, there should be 5 to 7 teeth in contact with the wood at any time. This means that about 1/8-inch of the blade must be protruding above the top surface of the wood. Raising the blade higher exposes more of the blade, creating a safety hazard.
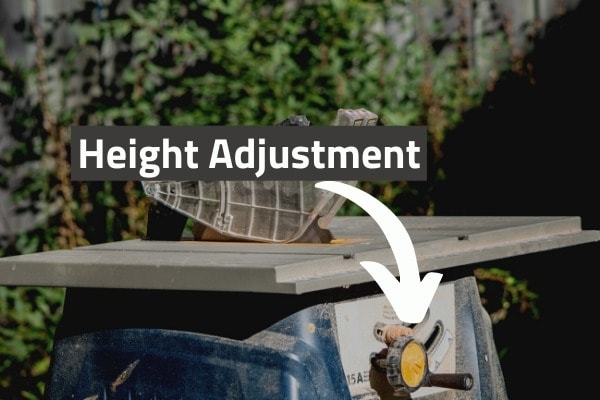
The blade on a table saw is height adjustable, with the mechanism usually a rotary handle on the front of the saw. Unlocking a lever and turning the handle one way or another will raise or lower the blade. This design feature lets you set the correct cutting height for the wood thickness you are using and the cutting function you are performing.
In most cases, having the blade higher will also give a poorer quality cut. There are exceptions to this, but we won’t cover those here.
Blade Angle
The table saw blade is adjustable. This mechanism is usually found near the height adjustment wheel. By unlocking a lever, you can tilt the blade to any position from 0 degrees to 45 degrees.
There is a scale on the saw body to guide you. Beware that the scale is often a very rough guide, so even though it may show the blade is perpendicular, there may be a very slight tilt.
What I do is turn the saw off, unplug it, raise the blade to its highest level, and use a square between the blade and tabletop to get it perfectly perpendicular. If it’s an important cut, I’ll even make a test cut on scrap wood and check it with the square.
Miter Gauge Accuracy
The miter gauge is the device that keeps the piece of wood at right angles to the blade when cross-cutting. It normally has a knurled knob that you loosen to turn the gauge to the desired angle.
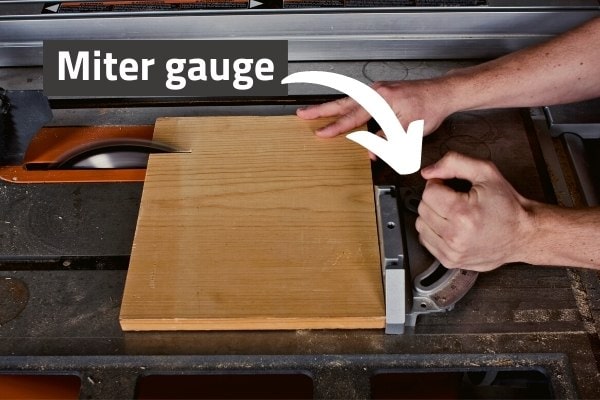
The adjustment on this miter gauge is usually pretty rough. I personally turn the saw off, raise the blade to its highest level, and use a square between the blade and front of the miter gauge to ensure the gauge is at right angles to the blade.
Once you have the blade height correctly set, the blade angle correct, and the miter gauge correctly adjusted, you’re ready to cut. Ensuring the wood stays flat on the tabletop, use the miter gauge to hold the wood at right angles to the blade, and you’re ready to make the cross-cut.
Related: Best Table Saw Miter Gauges of 2024
Do’s and Don’ts of Cross-cutting:
- Do use a support to the side of the table saw when cross-cutting longboards, ensuring the support is level with the tabletop.
- Don’t have someone guide the end of the board for you, as their assistance may cause the board to jam and the saw to kick back at you.
- Don’t use the rip fence (we’ll be introducing that soon) as a cutting guide when cross-cutting, as it will cause the saw to jam and kick back at you.
2. Ripping
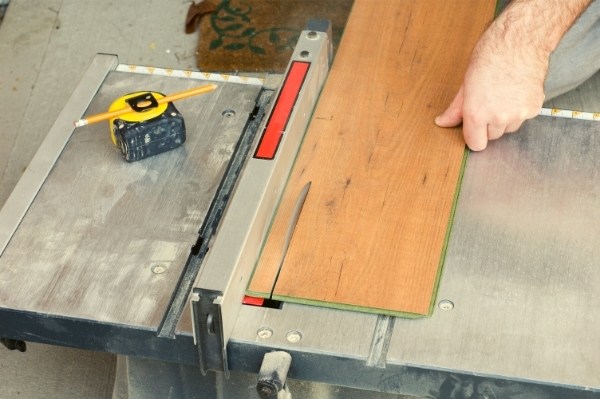
Ripping is when you cut along the grain of the wood. Think of cutting a plank from end to end.
For this, table saws come equipped with a rip fence. The rip fence runs from the front to the back of the saw table, parallel to the blade. It is fully adjustable from touching the blade all the way out to the maximum width the saw designer allows. It is also adjustable from being perpendicular to the tabletop to angling back away from the blade.
Buying Guide: Best Table Saw Rip Fences (2024 Review)
Again, three key features of the table saw allow you to make an accurate rip-cut. We’ve already covered two of these: blade height and blade angle, while the third is fence alignment and angle.
Blade Height
Everything I mentioned about blade height in the cross-cutting section applies here, except the teeth count. Ripping blades have larger, fewer teeth, so you’re looking for 3 to 5 teeth in contact with the wood at any time. The 1/8-inch blade height above the wood top surface is still a good rule of thumb.

- Specs: Arbor 5/8", Diameter 10", Grind FLAT, Hook Angle 20°, Kerf .094", Plate .071", Teeth 24
- Premium TiCo HI-Density Carbide Ripping Blend for Maximum Performance
- Thin Kerf allows for faster feed rate and reduced waste
Blade Angle
Again, proceed as you would when cross-cutting. We’ll discuss bevel cuts later in the article, so at this point, I’m assuming you want a perpendicular cut.
Rip Fence Accuracy
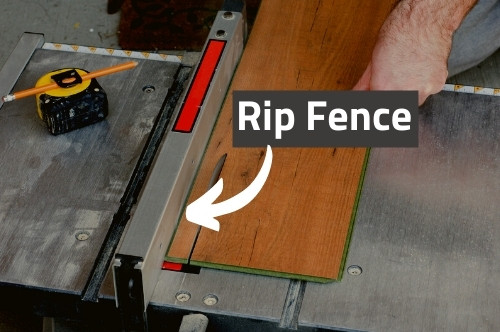
Most table saws you can buy today use a rack and pinion mechanism to adjust the distance of the fence from the blade. This mechanism ensures the fence is parallel to the blade no matter what setting to choose.
Be sure to check the accuracy of the built-in scale when you first use your table saw. It is user-adjustable, and the instructions to do so will be in the table saw manual. If you fit a new blade to your saw, you’ll need to recheck this setting.
You should check how perpendicular the rip fence face is to the tabletop. Most rip fences have a lever that you turn to loosen the fence rotation feature. Use a square to check the fence is perfectly perpendicular to the tabletop, then tighten the adjustment lever to lock it in place.
With these adjustments made, you’re ready to cut. Keeping your hands well clear of the blade, feed the plank onto the blade while keeping the edge firmly and squarely against the rip fence and flat on the tabletop.
Do’s and Don’ts of Ripping:
- Use a push stick to keep your hands clear of the blade when ripping less than 6 inches from the fence.
- Do use some form of outfeed support when ripping long planks or sheets. This support should be at the same level as the tabletop, and it supports the wood as it leaves the back edge of the table after being cut.
- Do be ready to switch off the table saw if the wood jams in any way or tries to kick back at you. Know where the stop button is, and be ready to use it.
3. Bevel Cuts
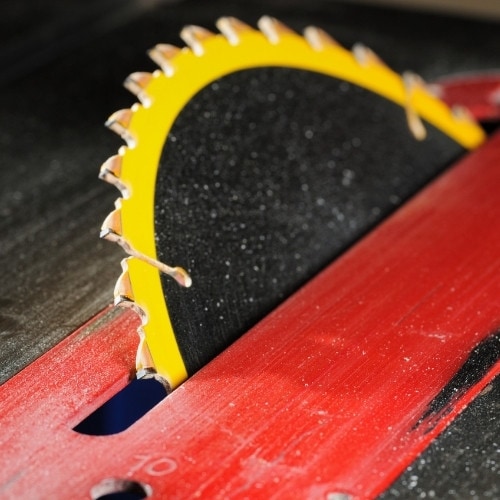
The mechanism you use to tilt the blade and make it square to the tabletop is the same mechanism you use to make bevel cuts. The blade tilts away from the fence and can be set to the required angle using a digital square or a bevel gauge.
Be aware that as you tilt the blade, the vertical depth of cut reduces, so you may need to wind the blade up higher to get the necessary 1/8-inch of blade showing above the top of the wood.
You may also find that the blade guard restricts the thickness of timber you can bevel if the bevel angle is acute. In that case, you will need to remove the blade guard, but exercise extreme caution and replace it immediately once you’re finished with bevel cuts.
Your table saw manual will guide you on guard removal and replacement.
All the other techniques we’ve already discussed are still applicable when making a bevel cut.
4. Miter cuts
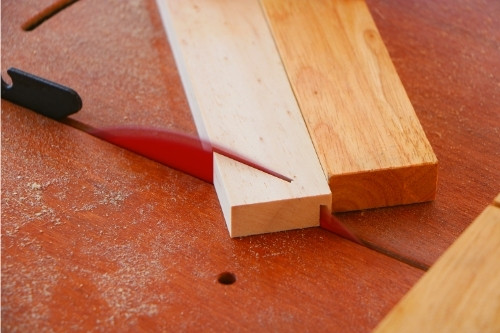
Making a miter cut is similar to cross-cutting, except the miter gauge is angled. With the saw turned off, use a bevel gauge against the side of the blade to adjust the miter to the correct angle. Then, make your cut in the same manner as you would a cross-cut.
Be sure to reset the miter to its 90-degree position once complete; it wouldn’t be the first time I’ve made a cut, thinking the miter was square, only to find it a few degrees off.
5. Rabbets and Grooves
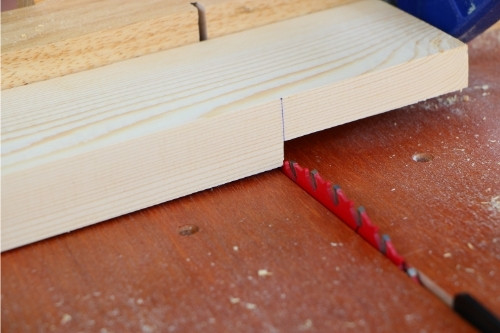
Rabbets and grooves are both a form of channel cut into the face of a board without cutting all the way through. A rabbet is cut on the edge of a board, while a groove is cut further in on the face. Think of a slot cut for a drawer runner or a rebate for a picture frame. The first is a groove, the second a rabbet.
Preparing the saw to cut a rabbet or groove requires removing the blade guard and the riving knife. The riving knife is that thin piece of steel that mounts the blade guard. It is designed to stop the wood from closing on and jamming the saw blade when cutting. Removing these items leaves the blade exposed from all sides, so please exercise care.
Set the blade height to the depth required for the channel. You will then use either the miter gauge or the fence to guide the wood across the top of the blade. A trap with rabbets and grooves is one where, because the blade is under the wood and unseen, unwary fingers can stray close to the blade. Be alert for safety, and be sure to use a push stick if necessary.
6. Kerf Cuts
Kerf is a term that refers to the material removed by the width and depth of a saw blade. Kerf cutting is a technique often used to bend a plank or sheet of wood. Using the method for producing a groove described above, kerf cutting uses multiple grooves spaced a small distance apart.
When sufficient cuts are applied to the face of a plank, the plank may be bent into a smooth curve. This link provides a graphic and a calculator for producing the required curve using the kerf-cutting technique. The same precautions given in the rabbet and groove paragraph are relevant when kerf cutting.
7. Dado Cuts
A dado is simply another groove cut into the face of a piece of wood. Most modern table saws allow the use of dado blades, but not all.
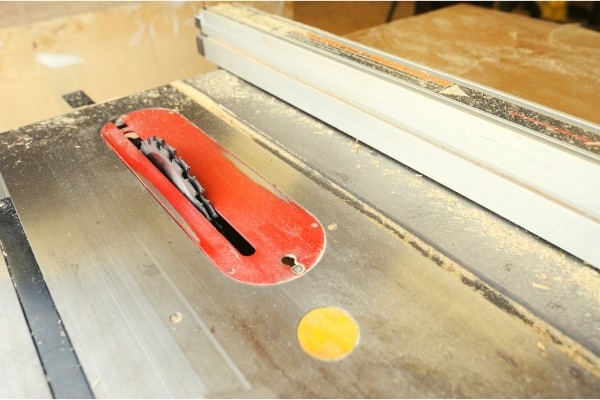
Imagine you need to cut a wide groove to make a joint or a drawer runner. You could make that groove using multiple passes with the saw blade, but it’s fiddly and takes time. A set of dado blades is a selection of blades that you can stack together to achieve the required groove thickness.
Your table saw must be designed to accept dado blades, as a longer arbor or motor drive shaft is required to mount the dado set. The plate on the tabletop that the blade protrudes through will also need to be changed to accept the greater width of cutters.
Once again, all the precautions of cutting grooves apply here. A specific precaution when cutting dadoes is to feed the wood slower. The motor is doing a lot of work with all those cutting teeth. If you push too hard, you’ll stall the motor.
Buying Guide: Best Table Saw Dado Blades to Buy in 2024
Selecting Blades
I’ve mentioned that cross-cut blades and ripping blades have different-sized teeth and that cross-cut blades have a greater number of teeth. However, there are table saw blades classed as combination blades that do both jobs, although less well than a dedicated blade. Most table saws will come with a combination blade fitted.
I find a good combination blade is fine for most general work.
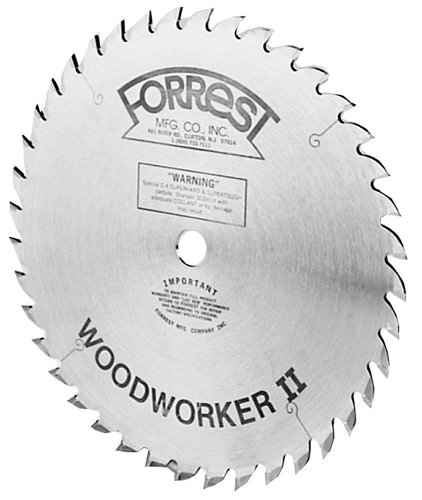
- This kerf saw saves 1/8" on wood loss for each cut.
- Feeds easily when used for moderate rips and crosscuts on a table saw
- Reduces jump in for better pull control
You will also come across carbide-tipped blades. Instead of being a standard metal blade with sharpened teeth, these blades have a small amount of carbide, a very tough material, welded to the tip of the tooth. While more expensive, they remain sharp and true for a very long time as they wear incredibly slowly.
Dos and Don’ts With Blades
- Do use the correct sized blade for the job, both in terms of diameter and shaft size.
- Do keep your blades sharp. Blunt blades are a danger in a workshop, potentially jamming and kicking back.
- Do physically disconnect your table saw from the electricity before changing the blades.
- Don’t try to bodge up a different blade to fit your table saw. The dangers are not worth it.
Related: Best Table Saw Blades to Buy (2024 Review)
Summary
Today I’ve covered the basic functions of a table saw. As you will learn, they are incredibly versatile and capable of many tasks. However, please remember how dangerous they can be, avoid becoming complacent, and always wear the correct personal protective equipment.

