One of the most useful jigs you can make for your shop is a table saw sled. You can make yours using one of the many plans that you find online.
The problem is that there are hundreds of plans to choose from online. That’s why this article will cover seven of the most popular free table saw sled plans. These vary in complexity, materials used, and the time it will take to make them. Give one of these a try and create a sled that will definitely improve your woodworking.
7 Free Table Saw Sled Plans
1. Easy Table Saw Sled Plans
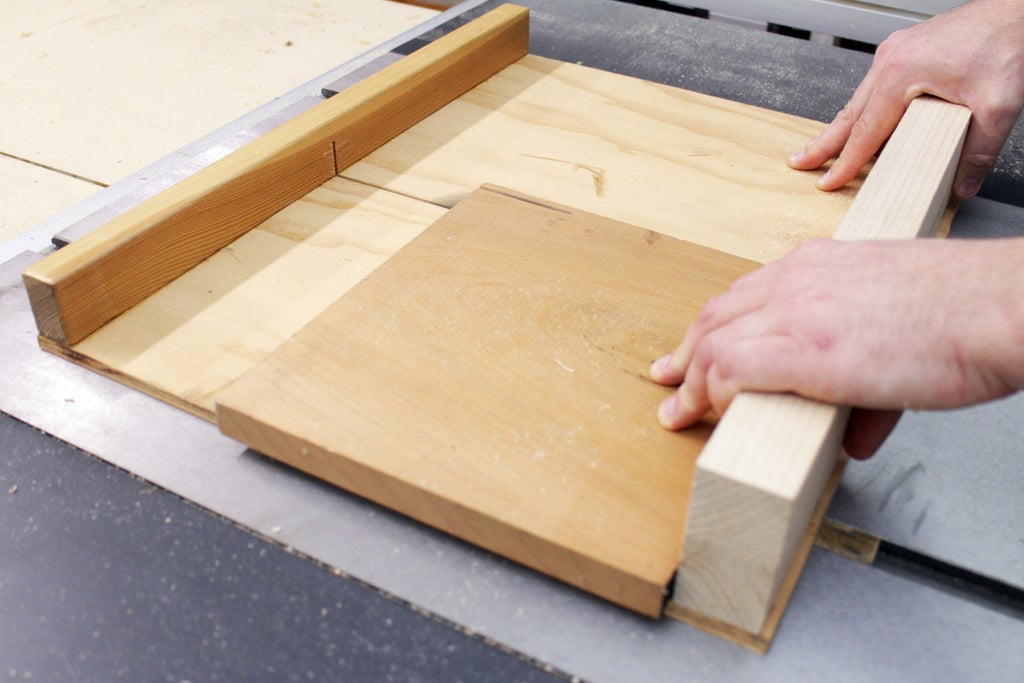
The table saw sled project described in these plans is a fun beginner-level project that can be a fun first woodshop jig to build. You will enjoy the minimalist style when it comes to layout and components. The result will be an easy-to-use table saw sled that should fit your table saw snuggly and square.
A mostly standard tool list will help you build this table saw sled. You will benefit from using calipers and a tri-square on this build, as the measuring tools will help measure track depth and keep parts square. Using a countersink will help fasteners sink in the table saw sled pieces as they are secured.
The table saw sled that these plans build should not take more than a few hours to complete. These plans break down into 16 steps, with each step taking only a few minutes to complete. Squaring the pieces and test fitting might be the most time-consuming parts of this particular build.
The cost of this table saw sled should be minimal as it calls for scrap wood for the pieces used. Wood glue and small fasteners are the only consumables you will need. Part dimensions equate to cheap purchases should you not have scrap wood somewhere in your shop.
- The Level Of Complexity: Beginner
- What Tools Are Needed: Safety equipment, marking equipment, calipers, countersink, drill and bits, tri-square.
- How Long Does It Take: Two or more hours
- Approximate Cost: $
2. Family Handyman’s Table Saw Sled Plans
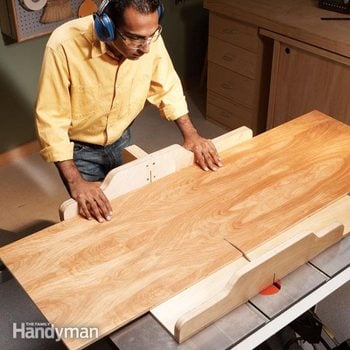
These plans build a table saw sled that is buildable by a beginner who is comfortable cutting 45-degree angles. The project is layered, but that adds to the time and not complexity. You will find this table saw sled useful for quickly cutting a 45-degree angle on lumber for picture frames and other simple projects.
A standard tool list will help to build this table saw sled. Some tools that stand out on the author’s list include an adjustable wrench, the framing square, and a wood chisel. Clamps come into play as you add the fence to the base on this table saw sled.
Experienced users can build this table saw sled in the afternoon. If this will be one of your first woodworking projects, it may take you a few more hours over a weekend. Gluing and finishing take up more time than other steps in this build.
The materials used for building this table saw sled make it one of the more expensive jigs on this list. Nine-layered Birch plywood does not come cheap, and it is often used for cabinetry and not for building shop jigs. Consumables include adhesive spray, sandpaper, and wood glue.
- The Level Of Complexity: Beginner
- What Tools Are Needed: Safety equipment, marking equipment, adjustable wrench, belt sander, clamps, drill and bits, framing square, hammer, wood chisel.
- How Long Does It Take: Five or more hours
- Approximate Cost: $$$
3. Canadian Woodworking’s Table Saw Sled Plans
The table saw sled built in this set of plans adds complexity with the moving fence stop and shaped components. It has a layout that requires a bit more attention. That does not transfer to the use of this table saw sled, which is easy to adjust and make 90-degree cuts.
A standard list of tools will help you to build this table saw sled. You will benefit from using a combination square or speed square here, and a screwdriver might bake driving the small fasteners quickly and easily. Unusual items, like pennies, are also suggested to help raise components as you work on this table saw sled.
The build itself will take some time. Experienced woodworkers can lay out and assemble this table saw sled over a long day in the shop. Those with less experience might want to plan for a couple of sessions over a weekend to complete this project.
The multi-layered Birch plywood makes this a more expensive project from the start. Adding several hardware components, including a BlackJack universal fence clamp, will increase the total price more. The table saw sled from these plans will be one of the more expensive jig projects reviewed here.
- The Level Of Complexity: Intermediate
- What Tools Are Needed: Safety equipment, marking equipment, clamps, drill and bits, square, screwdriver.
- How Long Does It Take: Eight or more hours
- Approximate Cost: $$$
4. John Malecki’s Table Saw Sled Plans
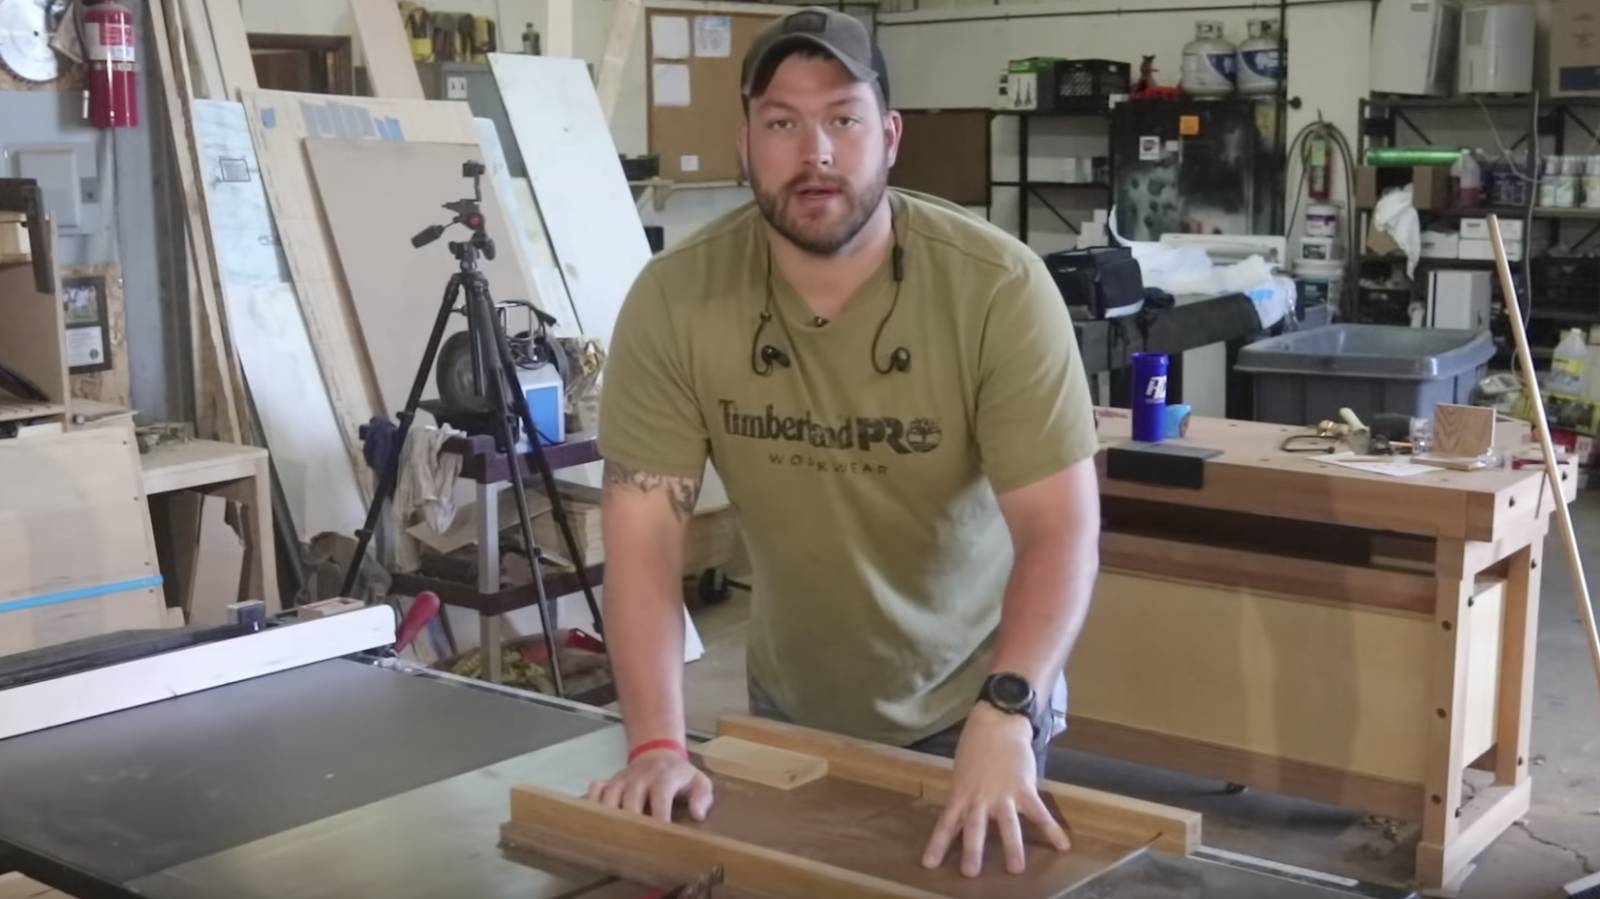
The table saw sled design John offers is a decent beginner-level woodworking project, but you will need to read the article thoroughly before starting your shopping list and layout. These plans are complete; you need a few extra items that the table saw sled lists do not indicate.
The table saw sled builds with just a handful of tools, but you will need more than a table saw (as the bullet list suggests). Items like drills and bits are shown in images but not listed. One tool that stands out on this table is the saw sled design, which is a block plane used to smooth several faces on your components.
You can build this table saw sled quickly, as John has a layout that requires simple cuts and fastening. Most of the work will be done on your table saw, with your drill helping to finish the project faster than most other jigs on the list.
You will spend very little cash to build this table saw sled. Paste wax and super glue stand out as consumables on the list, but these materials are cheap. John suggests MDF here, and that can be acquired at your local big-box store if you do not have some sitting in your shop.
- The Level Of Complexity: Beginner
- What Tools Are Needed: Safety equipment, marking equipment, block plane, clamps, drill and bits, speed square.
- How Long Does It Take: One or more hours
- Approximate Cost: $
5. Table Saw Sled Plans from Fix This Build That
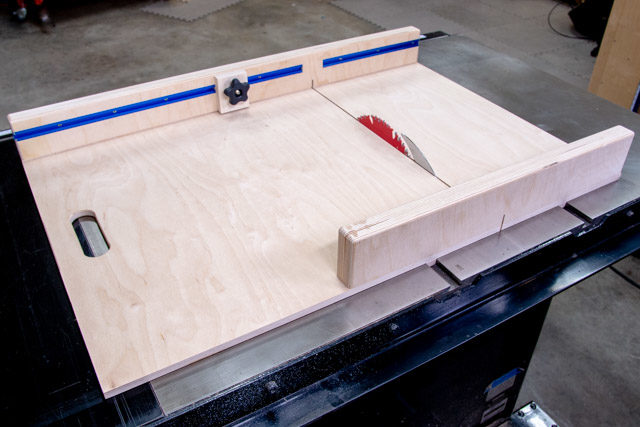
The complexity of this table saw sled borders on the beginner to intermediate level. Novice woodworkers who take their time will complete the project with few problems, but router work could be intimidating for someone making the table saw sled one of their first projects.
The stand-out tool on this table saw sled list is the router and router bits. You can substitute a drill and bits in some places, but the router will make rounding edges faster than other means. A jigsaw can make quick work of the handle cut into the table saw sled.
The table saw sled project makes several cuts on the table saw, and that layout will take a bit of time. You will spend more time assembling layers than you will any other step in this build. Alignment is key to keeping things square and looking good as well.
You will spend a bit of money on this table saw sled. The higher price does not include expensive plywood, but there are some hardware considerations. Using the Kreg mini-track will not be cheap, and the plans also call for T-bolts and star knobs that you might not stock in your woodshop.
- The Level Of Complexity: Beginner-Intermediate
- What Tools Are Needed: Safety equipment, marking equipment, clamps, drill and bits, router and bits, hammer, wood chisels.
- How Long Does It Take: Four or more hours
- Approximate Cost: $$
6. Popular Woodworking’s Table Saw Sled Plans
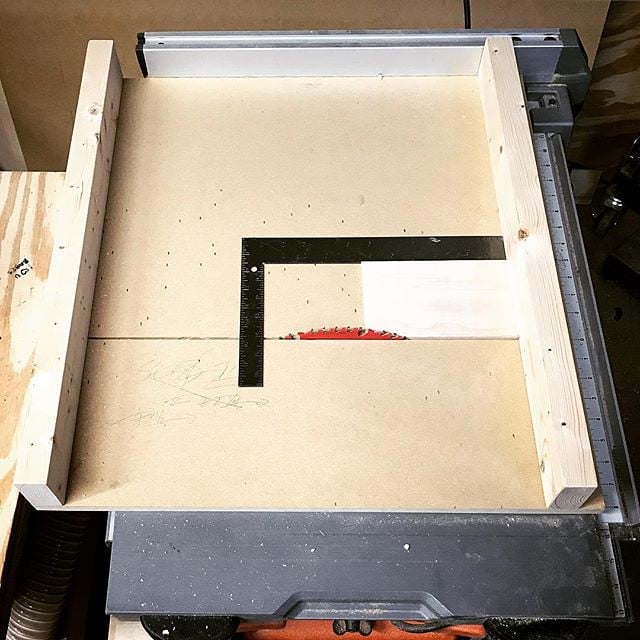
The plans for this table saw sled call for many pieces on the cut list. That, along with acrylic and aluminum components, will make this an intermediate project at the least. Your ability to make several adjustments on the table saw sled also increases the build complexity.
A standard tool list builds this table saw sled, but you will note a few items that you do not see on all. Playing cards are a unique spacer system suggested for this build, along with the utility knife used to trim them. Remember that you will need specialty blades for both the metal and the acrylic components on this table saw sled to prevent damage as you work.
You will need to take your time when making this table saw sled. The adjustable pieces on both sides of the fence take time, and working with acrylic requires patience as it is easy to damage if you rush. Putting it all together will take a full day in the shop or more for those with fewer projects under their belt.
The materials used for this table saw sled make it more pricey. Your total spent will fluctuate depending on where you source the acrylic sheet. Spending on specialty blades can increase the cost here as well.
- The Level Of Complexity: Intermediate-Advanced
- What Tools Are Needed: Safety equipment, marking equipment, clamps, drill and bits, utility knife.
- How Long Does It Take: Eight or more hours
- Approximate Cost: $$-$$$
7. DIY Montreal’s Table Saw Sled Plans
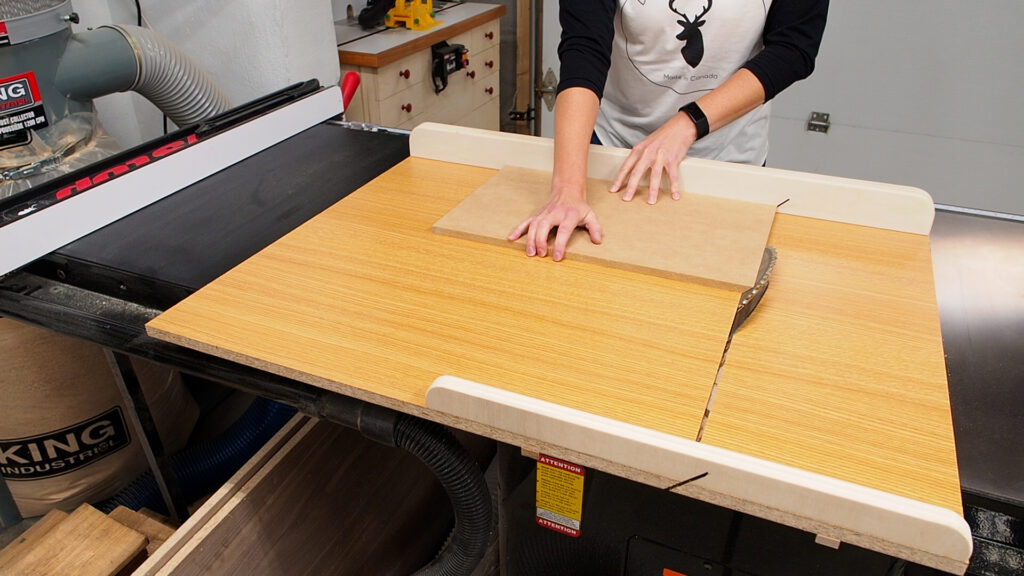
The design for this table saw sled is simple, and it should be easy to build. The most challenging cut will be the angled crosscut and the gluing of your laminate pieces. The table saw sled has only a few parts and will require only a handful of cuts to complete.
The table saw sled can be built and assembled with only a handful of tools. A trim router is pictured, but keep in mind that bits (and your saw blade) need to be friendly to the materials you are using. You will see the author using a level clamped to the workpiece to check the sled’s accuracy, which you can try on your table saw sled build.
The build itself will only take you a couple of hours to complete. The glue used on the table saw sled pieces takes longer to dry, however. Using fasteners will allow you to use the sled sooner, but the adhesive will add to the overall strength and needs 24 hours to set.
The cost for the table saw sled is not overwhelming. Your largest expenditure will be the laminate used for the sled and the specialty blades to cut the materials. A well-stocked woodshop can build this cheaply.
- The Level Of Complexity: Beginner
- What Tools Are Needed: Safety equipment, marking equipment, countersink, clamps, drill and bits, trim router and bits.
- How Long Does It Take: two or more hours
- Approximate Cost: $$
Getting Jiggy With Your Table Saw
A table saw sled is one of the must-have additions to the table saw. The small amount of money and effort you put into this shop jig will more than makeup for the time it will save you.
The seven-table saw sled plans reviewed here provide you with a varying degree of challenges and will offer you a fun build. Beginning woodworkers can use the simpler designs that allow them to make 90-degree cuts. Those wanting more versatility can build one of the sleds with a 45-degree cutting angle and adjustable stops.
These plans list specific materials to be used, but you can always substitute the types of wood you use. Swapping materials can save you money. Trying different wood on a jig project can also allow you to try something new before using it on cabinetry or another project.

