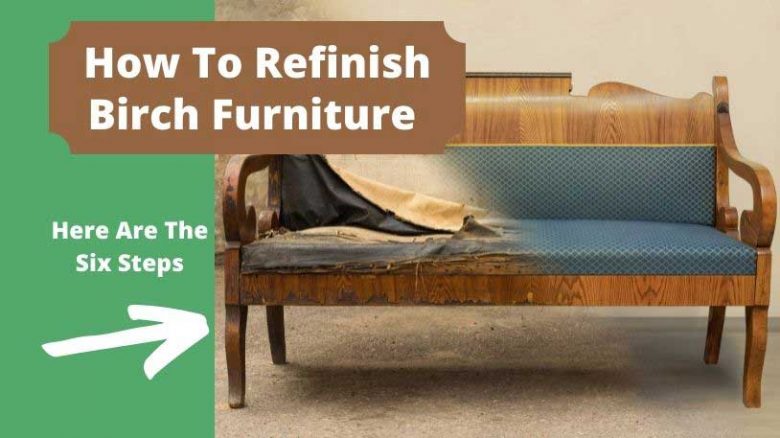
One of the most popular hardwoods for interior applications, birch brings a nice, uniform wood grain to furniture.
It is hardwood, which means it’s pretty tough. But even the hardest woods can take on dings, dents, and scratches, so sometimes, we need to refinish our birch furniture.
The process isn’t complicated, but you have to pay attention to detail, as with most projects.
Keep in mind that, again, this isn’t a complicated project, but it’s not so simple that you can mindlessly power through it and end up with a nice finish on your birch furniture.
With that in mind, let’s get started.
How to Refinish Birch Furniture
In six easy steps (okay, maybe not physically easy, as there’s a lot of sanding involved), you can refinish your birch furniture.
1. Start With a Clean Piece of Furniture
If your birch furniture has many miles on it or has lived in the kitchen for a while, it may have grease, dust, and any number of other mystery debris caked into the nooks and crannies.
You can use a household cleaner like a multi-surface spray from Pledge or opt for a wood-specific product like Earth Friendly Products Furniture Polish.
Wipe down the piece so you have a clean surface. Skipping this step means more dirt and detritus to remove during the next couple of steps.

- Liquid furniture polish is Made from natural olive and orange oils
- It cleans and beautifies wood, Formica, particle board and vinyl surfaces
- Helps loosen and gently remove finger prints, smudges and dirt
2. Strip the Finish
Stripping the finish may be the most critical step because the new finish won’t set right if you don’t adequately prepare your birch furniture for refinishing.
While you have the option of sanding the finish off, that will take a while, so it would better serve you (and save your two exhausted arms) to start with a chemical paint stripper. If the furniture you’re refinishing has lead-based paint, sanding it isn’t an option.
First and foremost, be sure to have proper ventilation while working with chemical products.
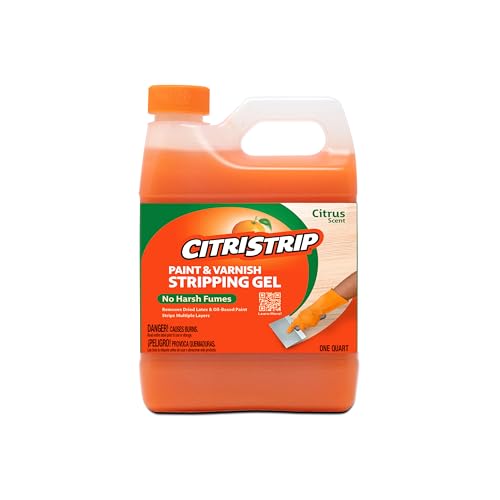
A chemical paint stripper like Citristrip’s Paint & Varnish Stripping Gel will do the job safely and quickly, but no matter what you choose, be sure you get a paste and not a liquid. Liquid might run, especially if you’re applying it to any surface that’s not horizontal.
Apply the paste and let it sit for about 30 minutes. Once the chemical product has worked its magic, use a scraper tool or putty knife to remove it, along with the old finish.
Let the wood dry completely before moving on.

- CITRISTRIP Safer Paint & Varnish Stripping Gel is easy to use.
- Stays wet and active for up to 24 hours allowing stripping of multiple layers in one step.
- Removes dried latex and oil-based paint, varnish, lacquer, polyurethane and shellac.
3. Sand the Newly Bare Furniture
You’ve taken the birch wood back to its natural state, and the only thing on it at this point should be dust and air. But to make sure you’ve got a smooth surface best suited to taking a stain, you’ll need to sand it.
While you can use a sanding block and your own gumption, a power sander is better. It’ll be quicker, and you’ll do a better job sanding.
Use low-grit sandpaper— no more than 150— for the first pass. Knock off any remaining finish or blemishes on the wood, then move to a higher-grit paper to get the wood genuinely smooth.
Related: All You Need To Know About Electric Sanders
4. Apply a Sanding Sealer
While applying a sanding sealer is an optional step, it’s still a good idea.
Think of it as a primer— you apply it to your freshly sanded furniture before you stain it, and the sanding sealer helps the wood hold the stain that much better.
You can’t go wrong with Minwax products, including the company’s 65700 Clear Sanding Sealer. As a bonus, it’s water-based, so clean-up requires no paint thinner or other caustic products.
The possible downside to a sanding sealer is that you must sand it down after it dries with an extra-fine grit paper, between 320 and 350.
This may be a dealbreaker for you if you’re sick of sanding. However, the benefit of your furniture taking the stain and looking terrific might be worth revving up the power sander again.

- Seals wood grain
- Easy to sand
- Dries in one hour
5. Stain the Wood
This can be so tricky if you’re not careful. The staining process requires patience and concentration, so be prepared for that. Here are all the things you need to keep in mind:
- Work in a well-ventilated area. Noxious fumes can build up quickly.
- Have an ample supply of rags at hand. You’ll use them throughout the process as you wipe off the excess stain.
- Don’t shake the can of stain. Stir it gently to avoid bubbles.
- Paint the stain in one direction. Don’t paint left-to-right, then go back over the same area right-to-left.
- Keep your brush damp with stains, not dripping wet. The thinner the coat of stain you apply, the better it will look when it dries.
- Apply multiple coats. The more you paint, the darker the stain, but you need at least two coats.
Dip your brush in the stain, daub it on the edge of the can, then apply a thin, even coat. Immediately wipe the stain with a clean rag. Then, move on to the next “stripe” of color. Repeat until your birch furniture is completely stained.
Once the stain dries, do it all again. Remember that you need two coats at a minimum.
6. Apply a Clear Coat
The best stain job in the world won’t last very long without a final protective layer, which is where a clear coat comes in. We often use a clear polyurethane coat to seal the stained wood and protect it from minor dents or scratches.
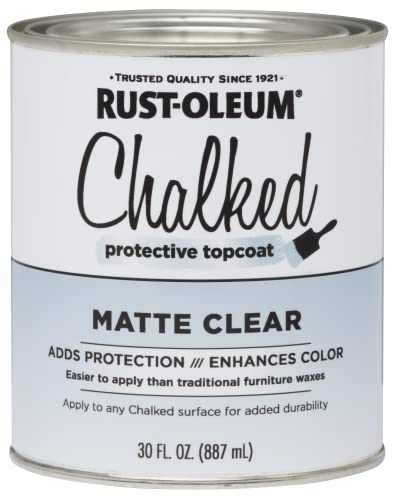
You’ll need to choose the finish you desire, as there are glossy ones and several varieties of matte finishes, one of which is Rust-Oleum’s Clear Chalked Ultra Matte Paint.
Allow the clear coat to set for at least 24 hours to ensure everything cures as it should, at which point you’ve got a beautifully refinished piece of birch furniture.

- Use on a variety of interior surfaces like wood, metal, ceramic, canvas and easily distress to create a vintage look
- Low-odor/VOC formula allows for easy clean up with soap and water
- Dries to the touch in just 30 minutes and covers up to 150 sq. ft.; one-coat coverage allows projects to be completed easily
What Is the Best Finish for Birch Plywood?
Your piece of furniture may have some plywood in it, and for birch plywood, you need to stick with a water-based stain, even if you use an oil- or gel-based stain on other parts of the piece.
The birchwood pores on a stretch of plywood tend to be too small for the high viscosity of an oil-based stain, so even with a sanding sealer in place, your birch plywood will take water-based stain better.
Conclusion
Refinishing birch furniture is a little labor-intensive, but the results can be stunning, provided you’ve done it well. Be sure to pay close attention to detail and invest the time and effort.
Sit back and enjoy your rejuvenated furniture and bask in a job well done. And don’t forget to tell anyone who admires the piece that you did it yourself.

