If you are like me, the idea of crafting something with your own hands is appealing for all kinds of reasons. Unfortunately, it can be difficult to finish a project without having a shop and tools that are available for use anytime. So, you need to know how to set up a small woodworking shop properly and stock it with the tools that you will need.
As someone who has recently gone through this process myself, I can understand how frustrating the process can be. I wrote this article to help you get past this hurdle and on your way to building that next project.
1. Prepare The Space

Your first step in building a functioning workshop is to determine how much space you have. My grandfather had a custom shed that he used for a shop. If you are like me, however, you may find yourself with limited room in the basement or garage.
You need to map out the available space so that you can decide on tool placement. Stationary power tools, like a table saw or planer, take up a lot of floor space. Even if you plan a workshop that will store these tools against the wall when they are not in use, you will still need to know the storage dimensions.
Another important consideration will be room for a workbench. Simple or complex, a bench will provide you with a surface to work on and a vice holder that will help to secure wood as it is being worked.
Storage space is another consideration. Beyond the power tools storage against the wall I mentioned earlier, you will also need a home for all of those hand and power tools you will be collecting. Proper storage for things like bar clamps will make life easier and woodworking more fun.
Making room for all of the wood that you will collect and use is important as well. Proper storage will take into account space for green wood to dry as well as offering a secure space that will prevent delicate materials from becoming damaged before they are used.
I would suggest that you start by cleaning out the area that you intend to use. That will give you the exact dimensions available and give you a chance to determine what tools or items will go in specific places.
2. Buy Your Basic Equipment

You can’t have a workshop without all of the right equipment! I recall all of the hand tools that my grandfather had collected over his lifetime. They remained a critical part of his shop even after he began to buy power tools, and I think every woodworker should have a nice set of hand tools as well.
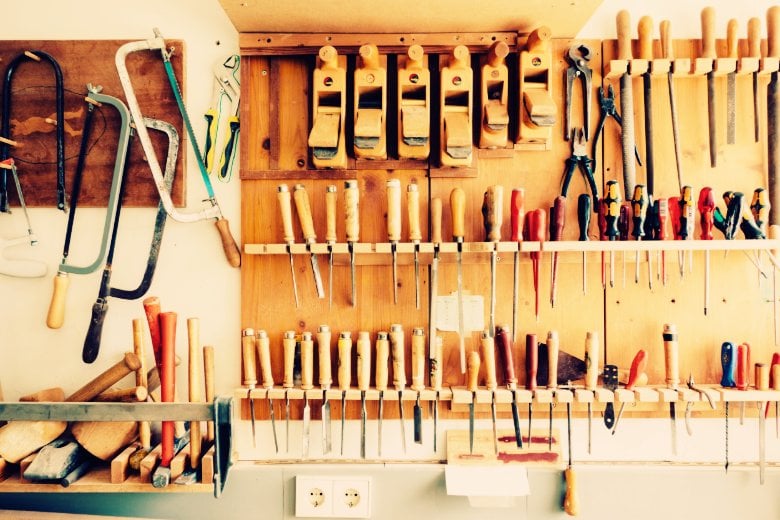
There are a few different handsaws hanging on my wall. I have a larger saw with universal teeth that I can use for milling lumber with rip or crosscuts. The workhorse of my handsaws is my carcass saw with teeth filed for rip cuts.
Then there are my hand planes. I inherited most of them, including the Stanley No. 4, from my grandfather. They have been limited to a bench plane, a smoother finisher, as well as a couple of small block planes for edgework.
Keep in mind that there is equipment your shop will need, no matter if you are a hand tool or power tool woodworker. I have more rulers and tape measures than I care to mention. Some are SAE, others are Metric (or a combination of both).
I have a couple of two-foot box levels as well. They help with keeping things level and plumb during assembly, and I even use them in combination as a pair of winding sticks when I am leveling wood surfaces with those hand planes.
You will want a few marking devices as well. Besides soft marking items like pencils and markers, you should invest in an awl. Another sound investment would be a marking gauge or mortising gauge, if possible.
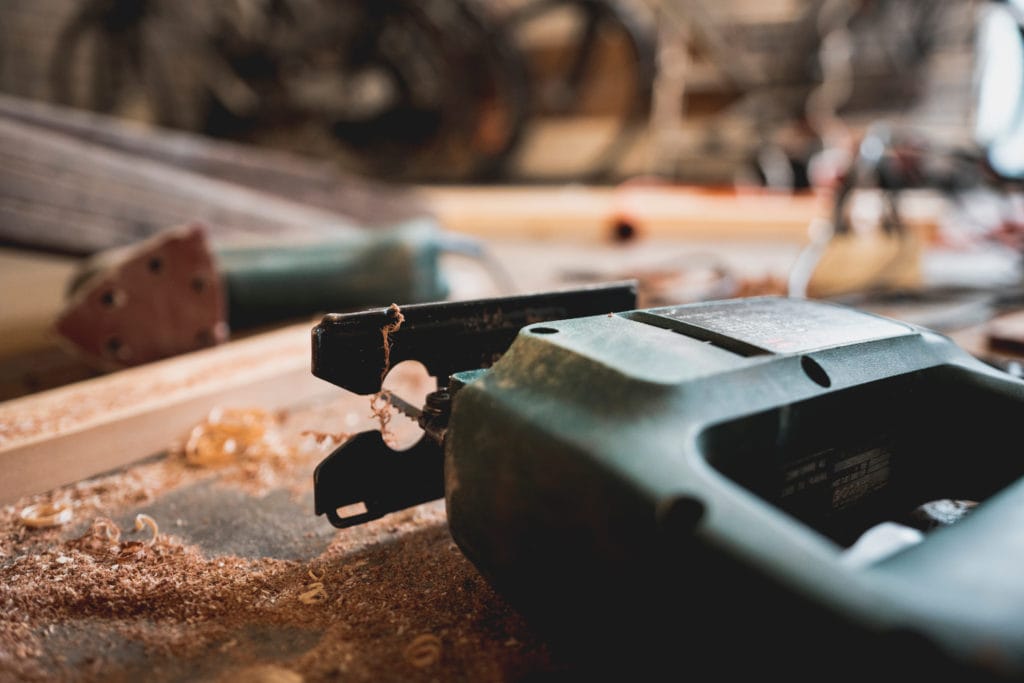
Hand-held power tools should include a good circular saw and a woodworking jigsaw. A battery-powered drill and ratchet set make for quick holes and driving long-winded fasteners with zero effort. Also, what woodworking shop is complete without an orbital sander?
If you plan on starting your shop with some stationary gear, I would recommend buying the best miter saw you can get for your money or a solid beginner table saw. Buying a planer will help when dimensioning stock, and for super-accurate drilling, a drill press is very useful.
Lastly, make sure you are stocked up with basic safety equipment. That should include a pair of safety goggles, ear protection, and a pair of gloves at a minimum. A safe shop is a clean shop, so you will want a shop vac to keep work areas clean even if you have a dedicated dust collection system.
If you are unsure what tools you need to start woodworking as a hobby, I have created this guide to basic woodworking tools to help you out.
3. Organize Your Tools

If there is one thing that I have discovered in the last few years is that organizing is king. Building and keeping your work area organized makes it an enjoyable and safe experience. You can spend your time actually making something instead of looking for a piece of equipment.
Tool chests are a perfect way to store items when they are not in use. These chests are larger than a toolbox, allowing you to store more items effectively. They also come in a variety of designs that will match your needs for particular tools.
Beyond chests, I have found that pegboards are fantastic for creating an organized shop. Fastening pegboards above my bench allows me to install hangers within arm’s reach. I store a few hand tools, as well as things such as tapes, on those hangers for when they are needed.
Another storage option worth considering is ceiling-mounted hangers. I have a couple in my shop that I use to hold my electrical cords and extra work lights on. Others use their ceiling hangers in tandem to hold wood, air hoses, and large six-foot carpenter t-squares and I-beam levels.
If you don’t have room for all of your different-sized fasteners, you can use a tool bag or bucket bag to hang them out of the way. Speaking of tool bags and buckets, you would be surprised how many things can be stored under your workbench in these containers.
4. Make Your Equipment Portable
I wish that I had thought of this when I was first building my workspace. I did not follow this rule, and I soon found myself having to reorganize the workshop I had just created. More downtime and less work time make Arthur an unhappy woodworker.
The biggest culprit in your shop will be the larger stationary tools. If you have a dedicated workshop with thousands of square feet to work with, then this probably won’t matter. On the other hand, if you are like me, then you have limited room to work with and in.
While a good cabinet table saw will be difficult to fit, a lot of portable table saws come equipped with wheels and hardware that help them move when needed. If your equipment does not have this hardware, you will need to buy or build some.
Many aftermarket tables are available that will safely hold your power tools, even while they are in use. Finding one of these with wheels will allow you to move a power tool into the work area of your shop when needed while allowing you to move it out of the way when it is not in use.
Another trick I discovered recently is folding tables. A table mounted to the wall with brackets can be moved out of the way when you are not using it.
If you are just starting out, get a pair of saw horses or tressels to place a panel or door on. These set up and break down easily, and it is how I started out.
5. Don’t Forget Temperature And Ventilation

If your shop is not part of the home itself (in the basement, for example), then it will be affected by the temperature outdoors. This could be fine if you live in a moderate climate that does not suffer from all four seasons. If you live in an environment with hot summers and cold winters, you will want to take the seasons into account.
During the warm weather, a fan might be all that you need. When it gets too hot, however, you will need something like a window-mounted swamp cooler. If your shop is so hot that you can not work in it, you might consider switching your schedule up a bit and working in the early mornings or in the evening when it is cooler.
During the winter months, you will want more than layers of clothing. You will need a portable heater at the least. If your shop dips below freezing, make sure that you store sensitive items (such as stains or varnishes) in a way that the cold weather will not ruin them.
A major consideration for your shop will be proper ventilation. Properly flowing air can help to keep humidity down and prevent you from overheating when it is hot out. Perhaps more importantly, having adequate ventilation is mandatory when working with many of the chemicals you will use in the workshop.
A lack of ventilation when working with some chemicals can cause everything from burning eyes all the way to poisoning that will send you to the hospital. If your shop lacks ventilation, then only use chemicals outdoors. Be safe, not sorry.
6. Power Considerations
You will need plenty of power for your shop to operate optimally unless you are creating a workspace for traditional hand-tool woodworking. You will not need an outlet for your Bit and Brace, but your power drill will.
Your workshop should consist of 110-volts and 220-volt outlets. Many of the hand-held power tools will use a standard 110 v household outlet. Larger tools that use low-horsepower motors will often make use of these standard outlets as well.
Larger power tools, most often stationary equipment, will use motors that require 220 v outlets. If you plan on having equipment that requires a 220 v power supply, you should dedicate a plug for each device. Even if you only want to use power tools that use 110 v plugs, it is worth considering at least one 220-volt outlet in your shop.
As you plan the type of outlets you will need, also take the time to determine where they will be placed. Having outlets that are easily accessible is important in a shop, especially if you have limited room to work in.
If you have to get down on your hands and knees to plug something in, it will put a dampener on your woodworking fun. I have almost all of my shop outlets at the maximum recommended height for building code. It provides easy access to the outlet and the items plugged into it.
7. Create Adequate Illumination

Light is your friend in the workshop, at least most of the time, that is. The only time I have ever had good lighting be an issue is when I working on a shellac finish and the sheen made it hard for me to tell where I had just sanded.
Proper workshop lighting needs to come from multiple sources and not from a single lamp or bulb. Light from such a source will cast shadows and hide imperfections in your project’s surface. A single source of lighting will leave plenty of space in your shop without adequate light to work with.
I would suggest lighting from two sources, with additional lighting that can be adjusted near or on your workbench. The extra light source near your bench can be shut off when it is not needed. I also have an extra mobile work light as well as two flashlights stored in one of my tool chests.
There are many different types of lights that you can use in your shop. Some old-timers still use their fluorescent tubes. Others have modern LED lights in their fixtures.
Each type of light has its advantages, so you will want to match the bulb to your needs. If you plan to only work occasionally, a traditional setup or one with CFL lights may suffice. Conversely, if you plan on working for many hours at a time in your shop, I would highly recommend looking into LED lighting.
8. Outsource Some Of The Work
You may want to do all of the work to get your shop up and running, but reality may have other things in mind. Let’s face it: taking on too much will turn something enjoyable into a source of stress, and it may even stop you before you get started.
There is nothing wrong with getting someone to help you, especially if you are building a stand-alone shop. For those of us who enjoy woodworking as a hobby, trying to lay out and pour a foundation or wire an entire shop could be more than we can handle.
A great place to start is online, where articles and videos will show you the various woodworking shops that others have created. Take what you like, and throw away the rest. You will soon have a workshop that functions and allows you to fully explore woodworking.
Once you have a layout, determine what electrical work needs to be done. Also, take the time to figure in your HVAC options and ventilation. Many shops, mine included, also have a sink or toilet that will need plumbing.
To be honest, I sourced out all of those things when I built my shop. It allowed me to get everything completed without missing out on work or family time. Everything was also done professionally and up to code.
If you are really pinched on time, or if you feel a bit intimidated, you can also have other help with setting up your shop space, your equipment, and even the storage you will need. This could be the perfect time to get other family members involved by turning your woodshop into a family project. Then again, you might wish to do all of the work as you create your ultimate “man cave.”
Additionally, if you don’t have a lot of space in your workshop to store a whole bunch of power tools, you can get the wood planed or cut to your desired dimensions in the store itself. There is no necessity to own an entire collection of large and expensive saws and planers that cost a leg and an arm. Just make sure you have your measurements right when you buy your wood.
Completing The Build
Creating a workshop might be one of the most fun activities you can do. It is not a one-time job. Build up your workspace as you progress in your woodworking. No matter what you come up with, I guarantee you that you will soon be looking to modify your workshop as you gain access to new equipment, learn to work without some, and start taking on larger and more complex projects. For that reason alone, I recommend that any shop project include some extra space to develop in the future. If that isn’t possible, follow tip #4 and place your bulkiest tools on a wheeled basis.
Also, keep in mind that you do not have to overwhelm yourself with everything listed above all at once. Pick and choose what you will work on and what you can afford. It won’t be long before you have that perfect workspace that inspires you!


4 thoughts on “Setting Up A Small Garage Workshop – Tips For Beginners”
Hi Arthur, Thanks for your advice. I am a beginner woodworker and I was thinking of setting up a small garage workshop in my home. Your advice on making tools portable really struck home with me.
Hey Brennan. Yeah, too bad I didn’t realize this earlier myself. Portable bases are a game-changer. Good luck setting up your workshop!
Hi Arthur,thank you for the good tips that I didn’t even think of.Being recently retired,am going to set up a little shop like area and maybe get the grandkids involved..Have a great day….
Hi Stephen,
Thanks for stopping by. I’m glad the article helped. And definitely get your grandchildren involved. It was actually my grandfather who introduced me to woodworking. Start them young!